Barracuda Trunk Rust Repair
This page will show me repairing some rust in the trunk of the Barracuda. Years ago a weld in the rear wheel well pulled loose and allowed water to get into the trunk every time the car was driven in the rain. Back then I gutted the entire interior of the car and used a water hose to track that leak down and seal it up. But I never got around to fixing the rust in the trunk until recently.This was my first welding experience and I learned a lot from it. Before I attempted this I did get some scrap sheet metal and practiced until I felt comfortable with the welder. As you will see I butt welded the new panel in place to put the car as close to original as possible. As I found out butt welding 18 guage sheet metal is difficult because it is so thin its easy to melt a big hole right through it. Plus bending over and welding in the trunk of a car is a difficult position to work from. Despite these challenges I took my time and kept at it until it was done.
Cutting Out the Rust
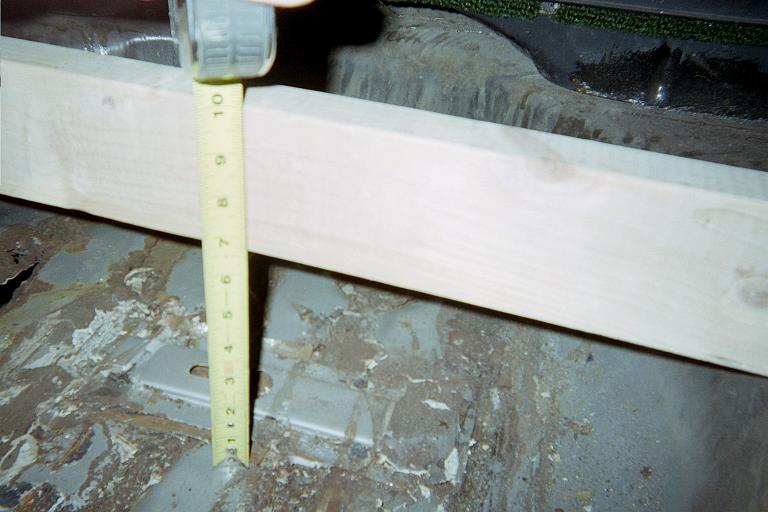
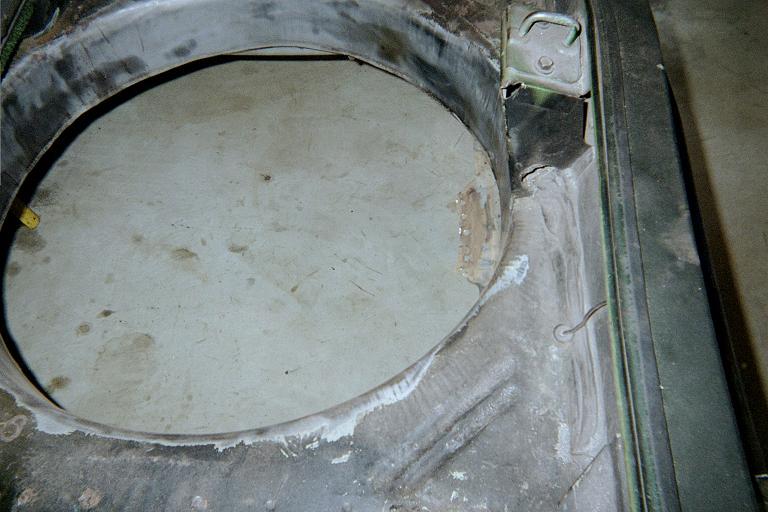
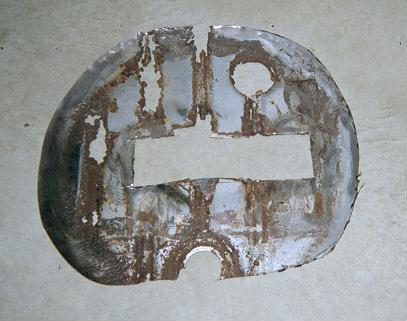
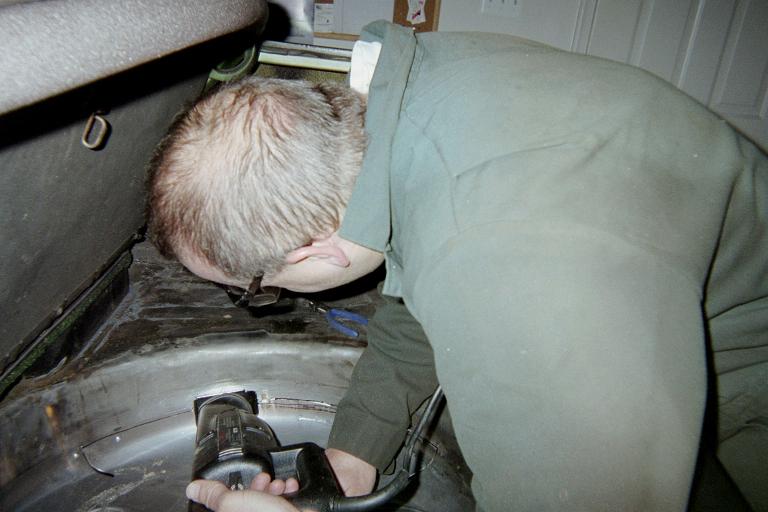
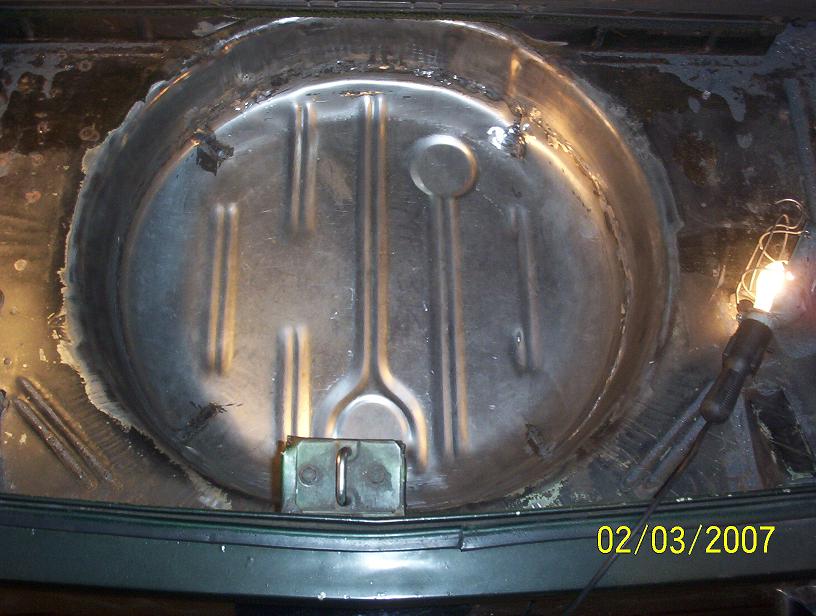
The first order of business was removing the gas tank and cutting the old rusted panel out. Before cutting I measured the depth of the original trunk pan which I determined was 6 1/4" deep taking sagging into account. I wrote that measurement down. This way I could get the new panel installed at the same depth as the original panel. I used a saws-all and a cut off wheel in a 4" angle grinder to cut the old rusted panel out.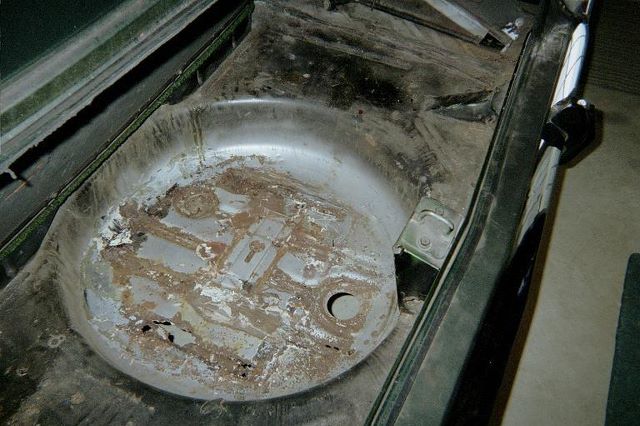
Fitting New Panel
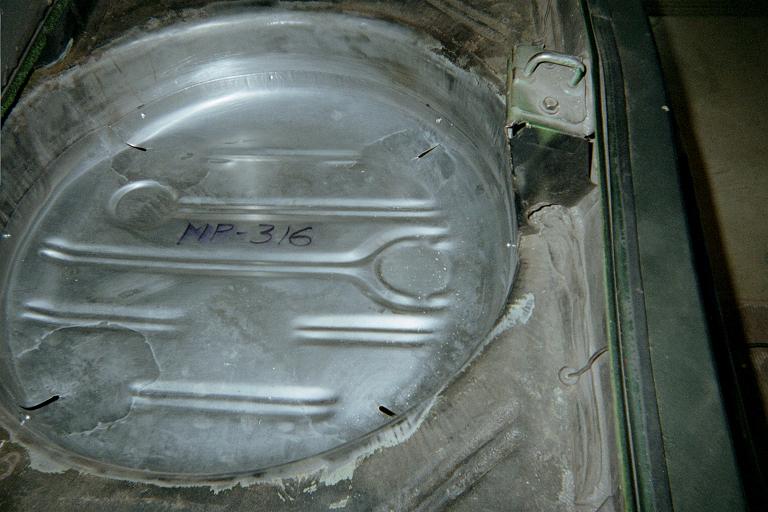
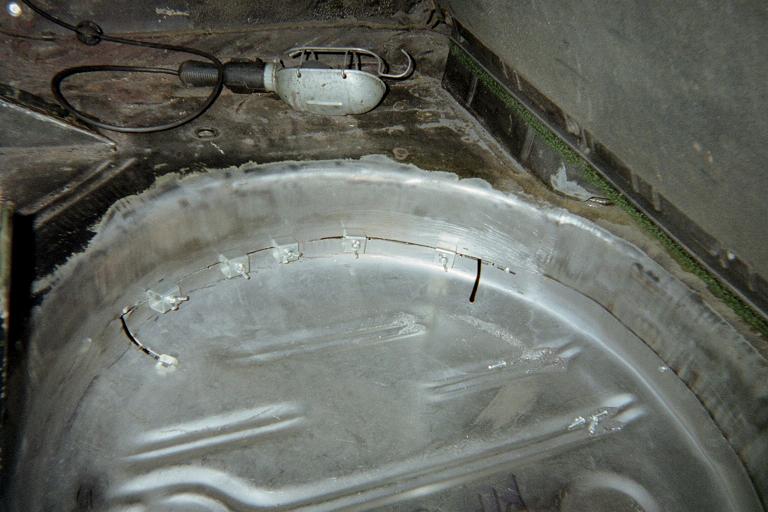
Next I fitted the new panel. Before fitting I took a wire wheel and cleaned all the old metal up on both sides. Then I placed the new panel in place at the correct height and used #8 self tapping sheet metal screws to secure it in place. At this point the old and new panels are overlapped by about a half inch. I did a lot of measuring at this point to be sure the new panel is at the right depth and level.Then I used a sharpie and drew a line which represented the middle of where the panels over lapped. Next I cut along that line with a saws-all. Now there was no metal overlap in that section and a slight gap existed between the panels which is what you want when you butt weld.
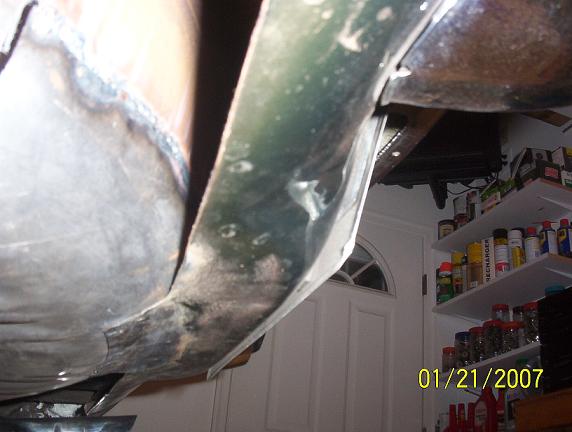
Next I installed some butt welding clamps. These clamps align the two metal sections and hold them in place while its welded. Then I welded some tacks, one tack at a time, let metal cool, move to a different area, place another weld, let metal cool, and repeat. If you don't let the metal cool and move around you will warp the metal and blow big holes through it. You have to take your time with thin sheet metal!
As I progressed I removed the butt welding clamps. Then I repeated the above two steps for the remaining three sections.
Finish Welding
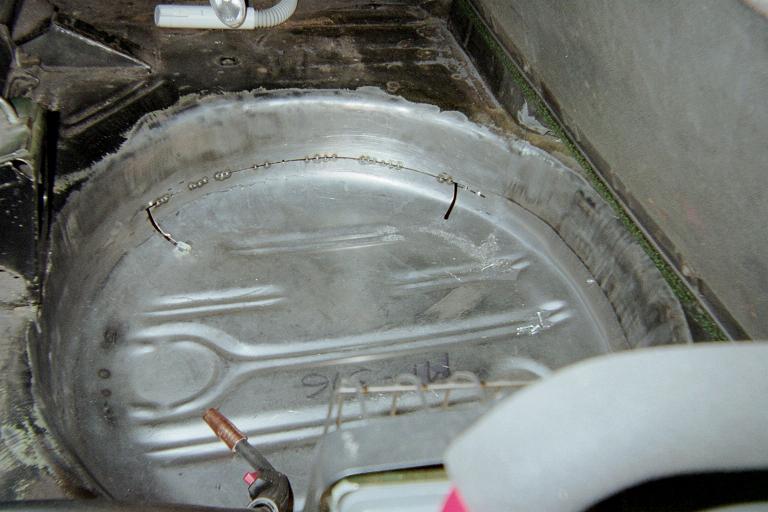
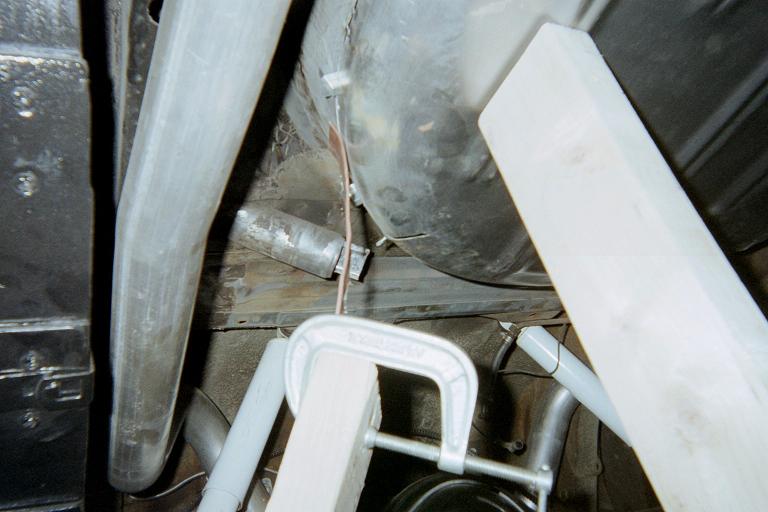
NOTE: One tip I learned from a welding book is to use a piece of copper and place it behind the metal you are welding. The copper keeps the metal cool and helps prevent the weld from blowing a hole through the thin metal. It also keeps the weld flat on the back side. And weld does not stick to copper. I went to the local hardware store, bought a piece of copper pipe, and just smashed it flat with a hammer. Without the copper I don't think I would have been able to get the welding done.After the panel is cut and tack welded into place I slowly added more tacks one at a time. I would add a tack, let cool, move to another area, add a tack, and repeat. Then once it was all welded up I used an angle grinder to grind the welds down. Typically I would find there would be holes and I would have to add a weld and grind again. It was best to turn the welder power down to prevent blowing a hole in the metal. I used a light to find the holes and got it fully welded all the way around. A very time consuming process. Once I got it welded and grinded I used a "flap disc" in an angle grinder to do the final smoothing.
Couple key points when it comes to grinding down the welds. First do not over grind and make the metal thin; you just want to grind the weld down even with the metal and no further. And do not grind continuously in one place. That will create excessive heat and warp the thin metal. You must grind slowly and move around to other sections and let the metal cool.
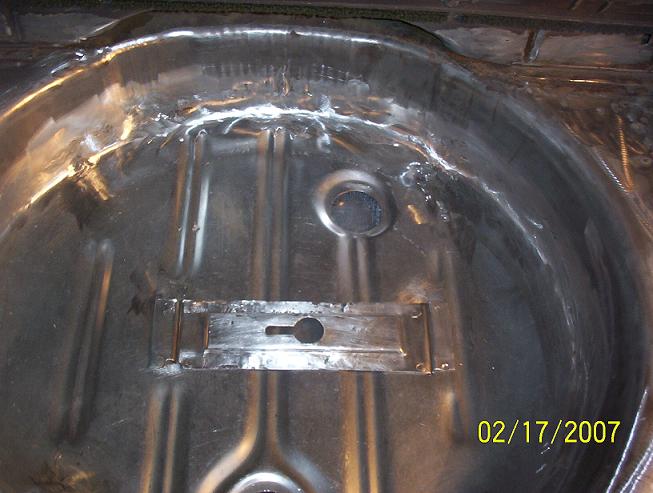
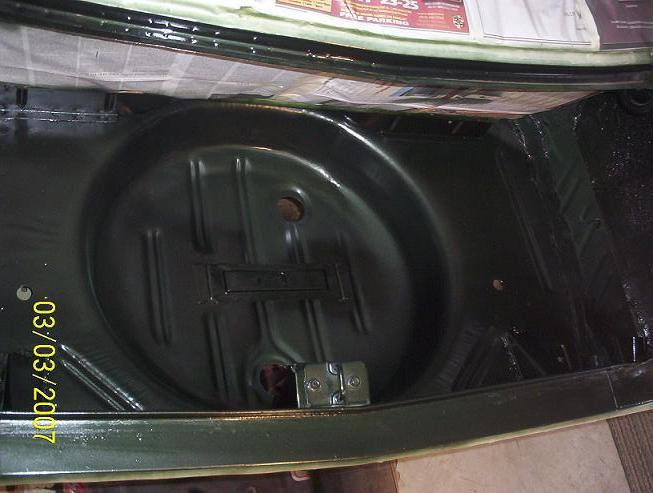
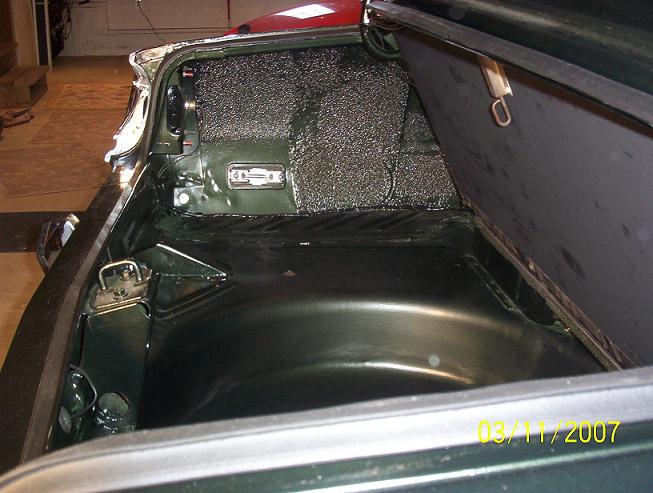
Trunk Paint
Once all the welds were grinded down the entire trunk was wire wheeled down to bare metal and primed. Then it was painted dark green to match the outside of the car. The bottom of the car was painted semi-gloss black. After paint was completed a new gas tank and trunk weather strip were installed to complete the repair.So that is how I repaired the rust in the Barracuda's trunk. I hope you enjoyed reading and looking at the pictures.