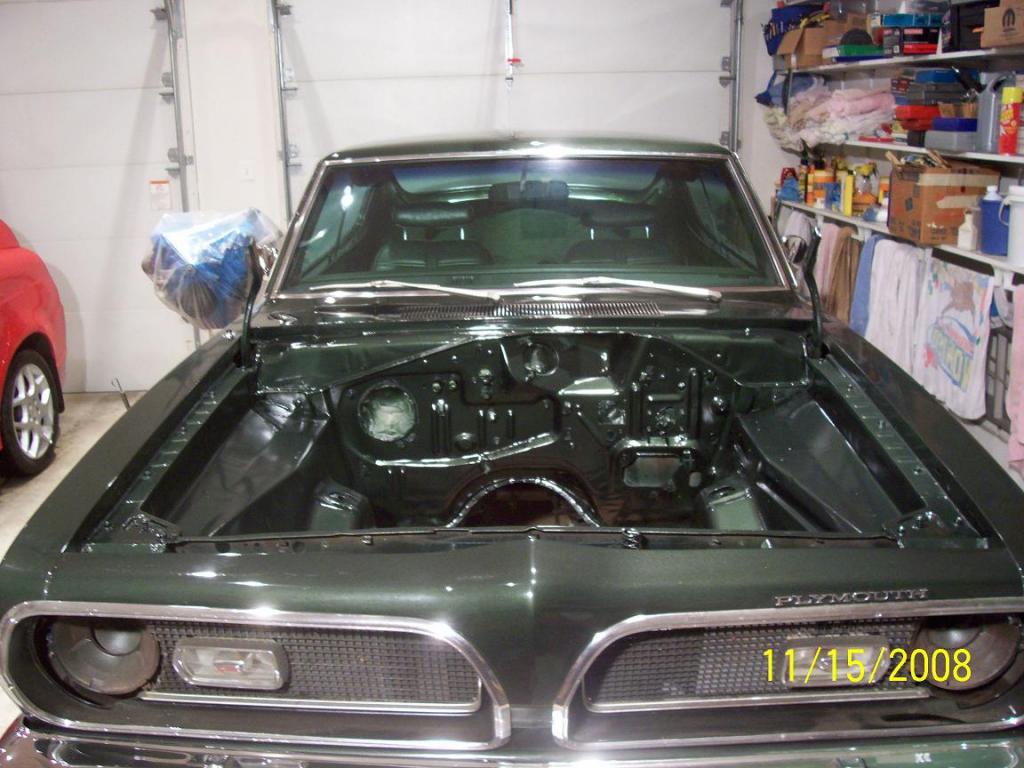
Barracuda Engine Compartment Restore
This page will show me and my son Eric restoring the engine compartment in my Barracuda. This was done before swapping in the new 414 cubic inch stroker engine.Over the years the engine compartment became dirty with some surface rust. It had an old nasty looking flat black paint job; not body color like it should be. It just looked plain old ugly. Who wants to see a nice new engine in an old worn out looking dirty engine compartment?
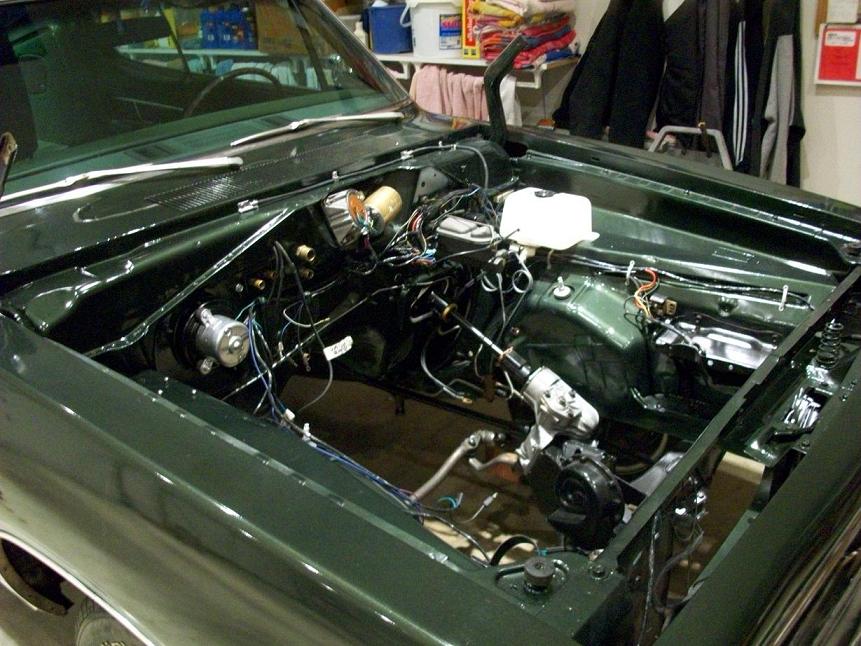
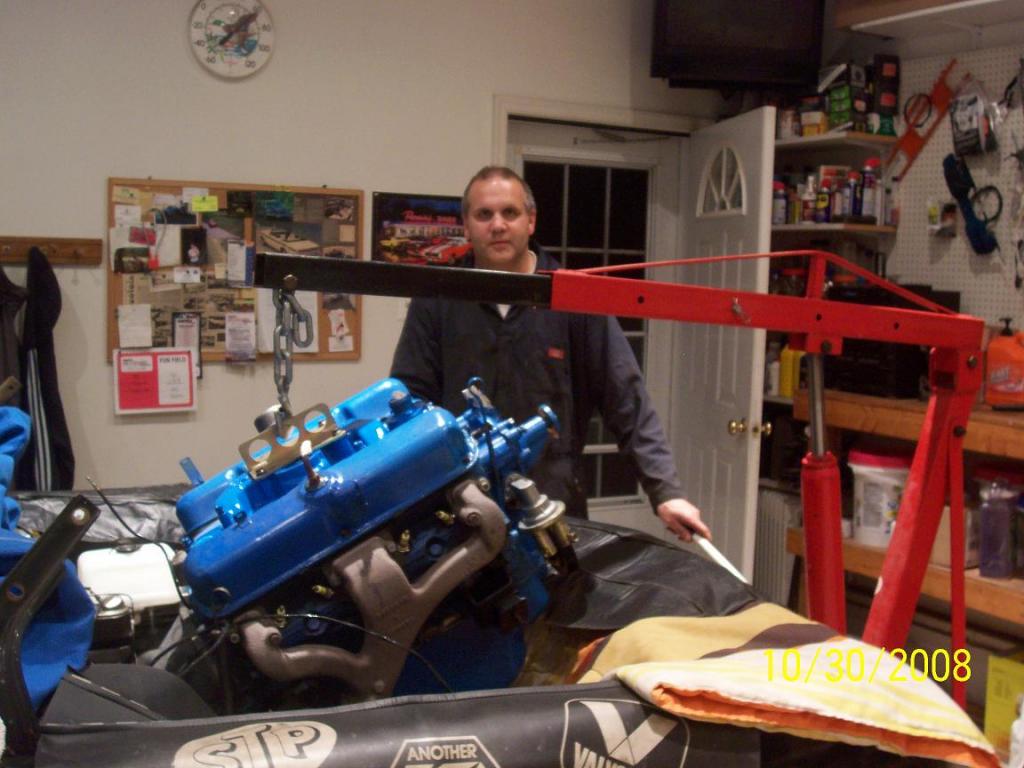
Pulling Engine
The first order of business was to get the engine and transmission out of the way. So all fluids were drained, all hoses, wires, and exhaust were disconnected, and motor and transmission mounts were unbolted. The hood and the radiator were also removed.Special thanks to my friend Greg for loaning me his engine hoist.
Once everything was unhooked we wheeled the engine hoist into place, connected a chain to the engine, and pulled the engine and transmission out of the car.

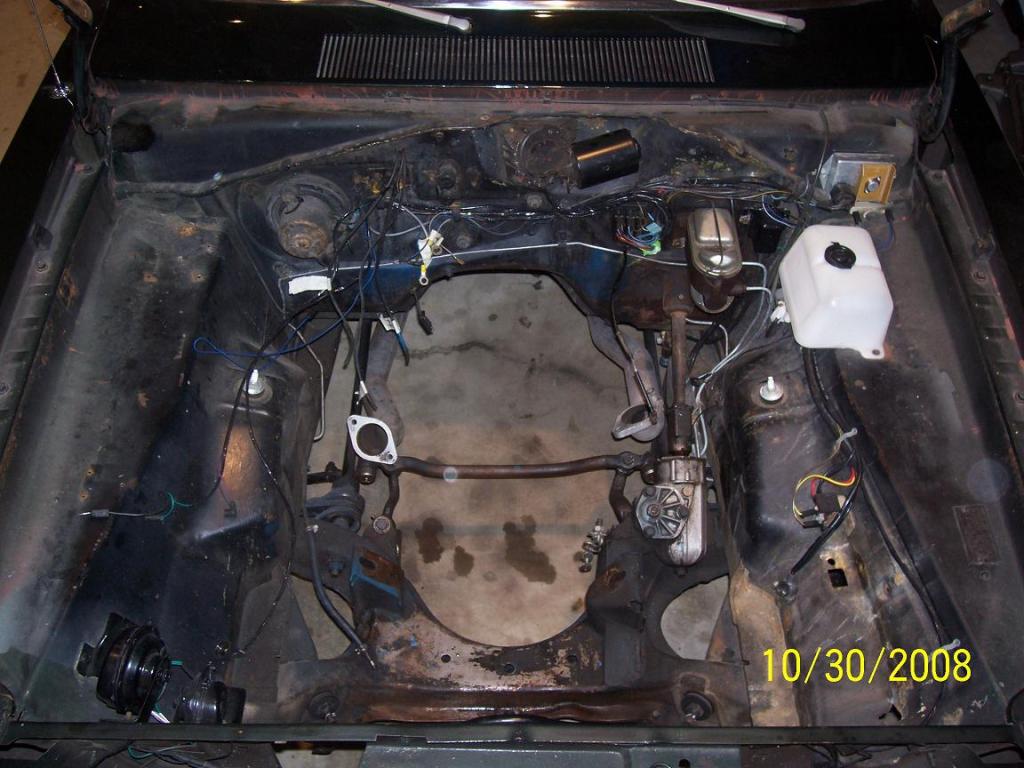
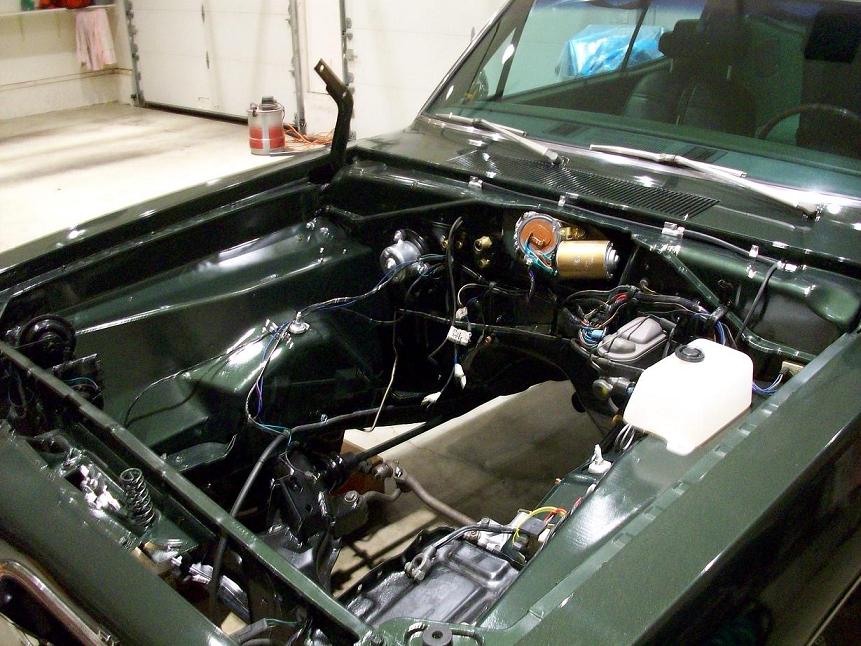
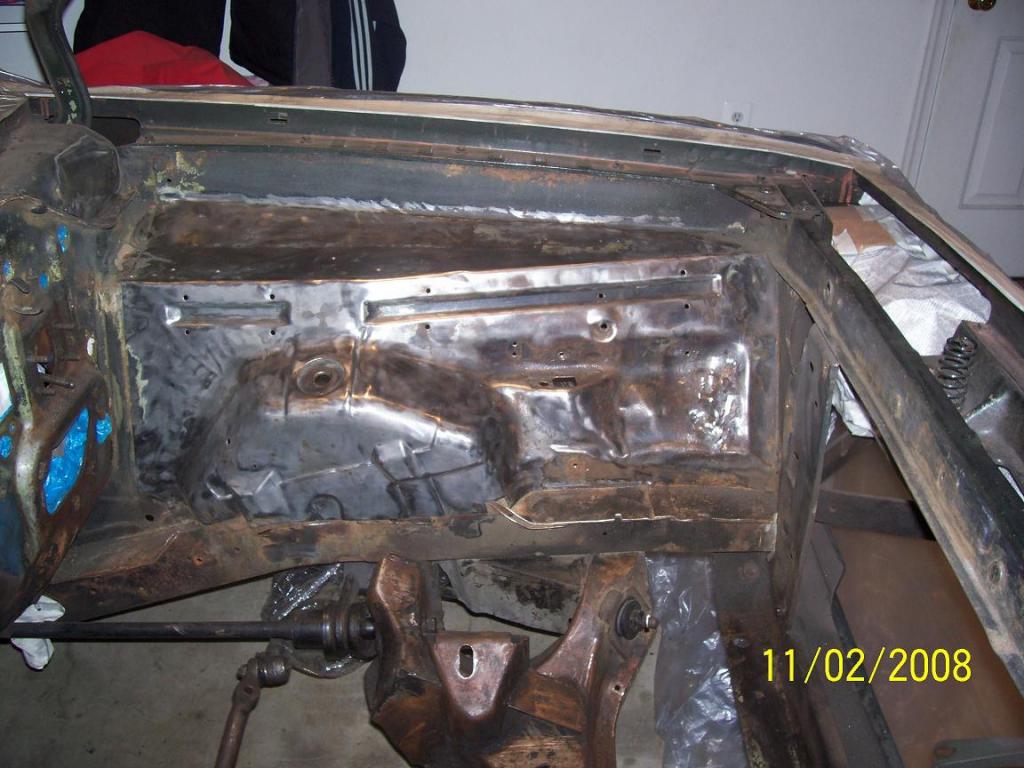
Remove All Components
The next step was to remove all components from the engine compartment. The master cylinder, brake lines, wire harnesses, horns, heater fan, vacuum hoses, steering column, and steering box were all removed so that everything would be out of the way.Prepping Metal Surfaces
After all components were removed we then stripped all the old paint off. This was done by putting a wire wheel into a 4" angle grinder and going over all the surfaces until they were down to bare metal. This way we could see the condition of all the surfaces and determine if any repairs to the metal would be needed.Eric did most of the wire wheeling in the engine compartment. Ear plugs, eye protection, and a dust mask are required for this task. Notice how the entire car was covered. This makes for easy cleanup once done.
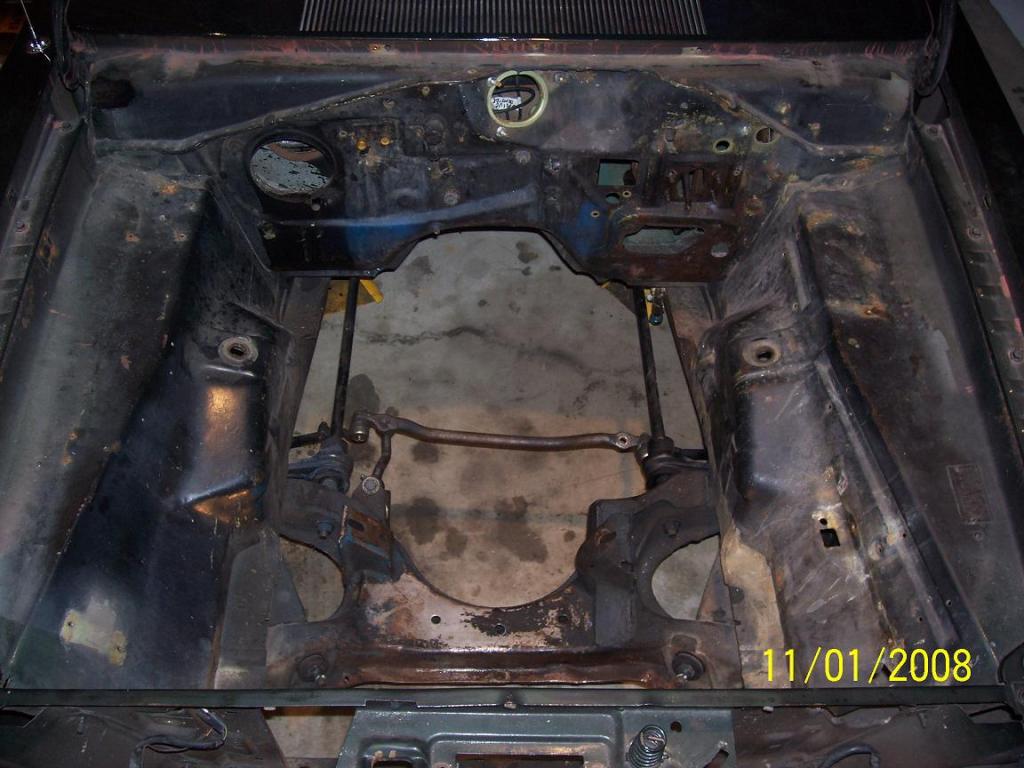

Repairing Holes
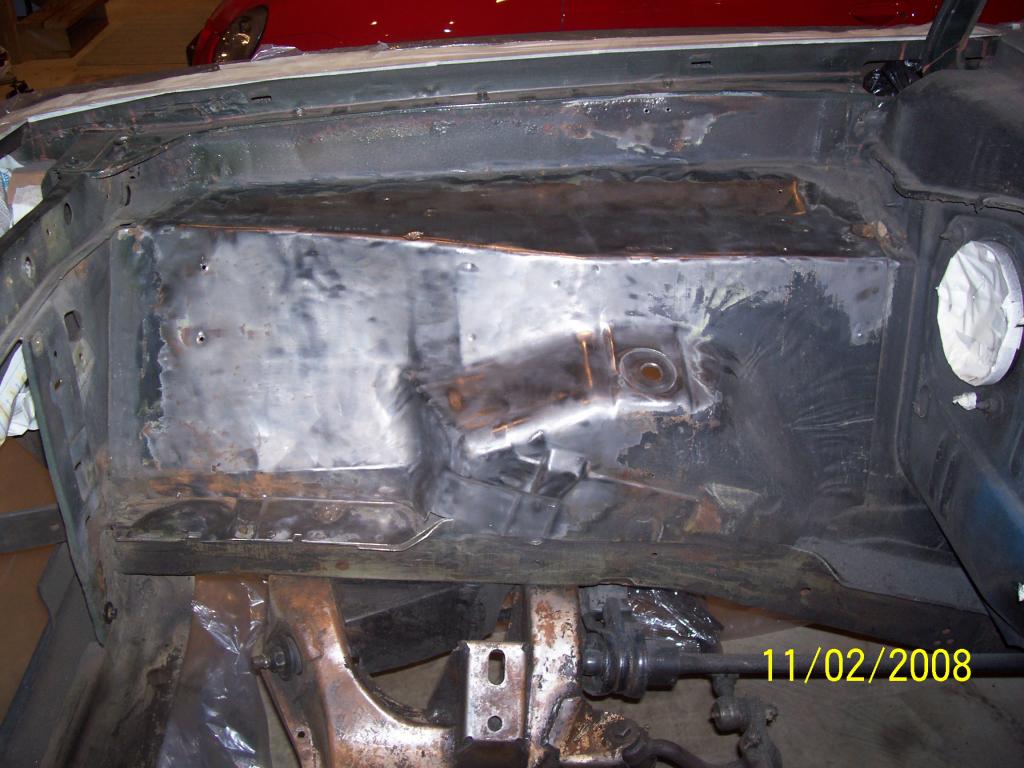
Various holes existed in the engine compartment that were drilled over the years. Some holes were for an alarm the car once had. Other holes for an aftermarket water valve. And there were some holes where an electronic ignition module was mounted. All those holes were welded shut and ground flush.Repairing Rust
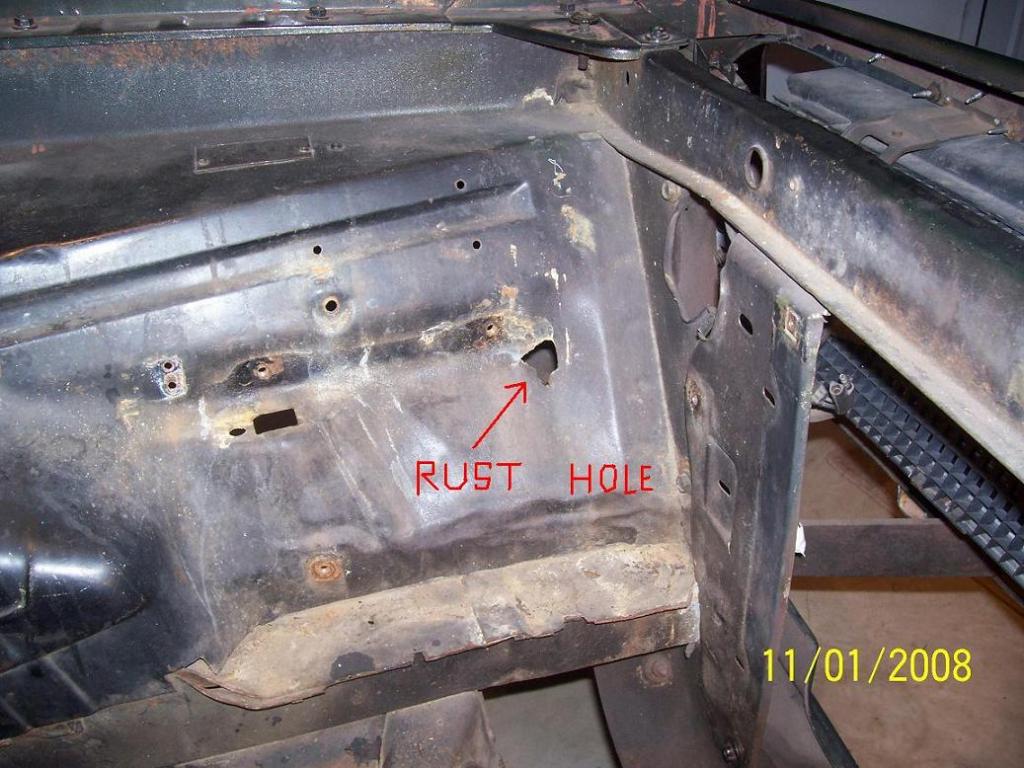
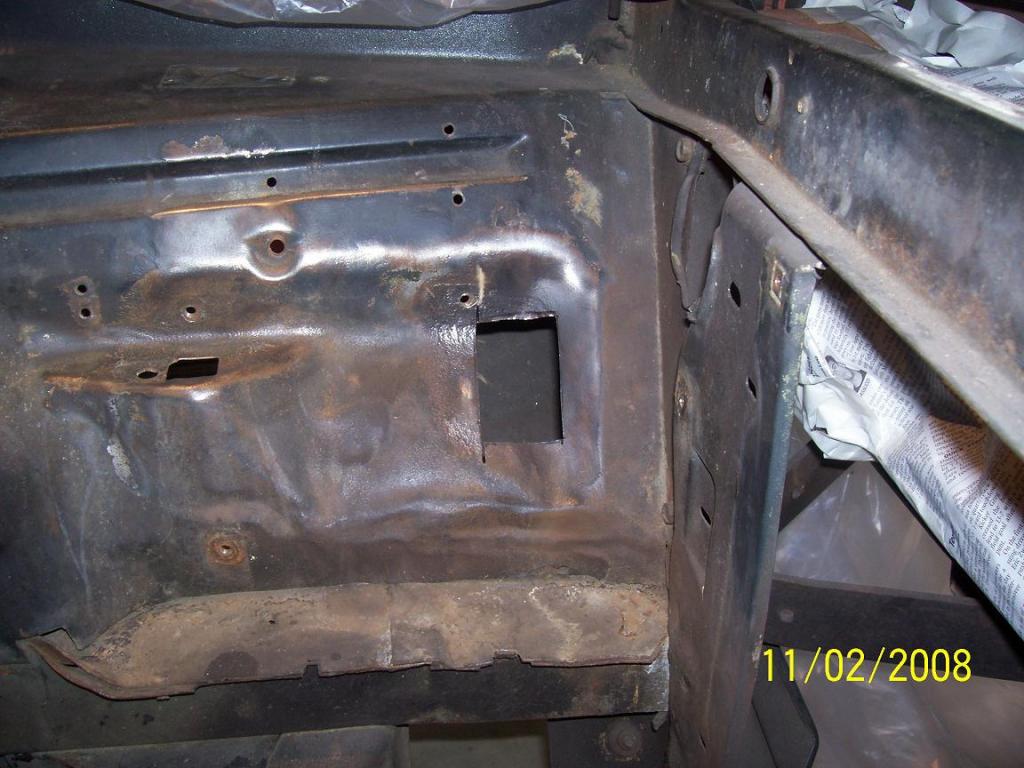
There was a rust hole caused by battery acid that needed repaired. All the rusted metal had to be cut out to completely remove the rust. Then an 18 guage sheet metal patch was fabricated and butt welded into the hole. After that the welds were ground flat to complete the repair. This resulted in an all-metal repair restoring the metal back to original.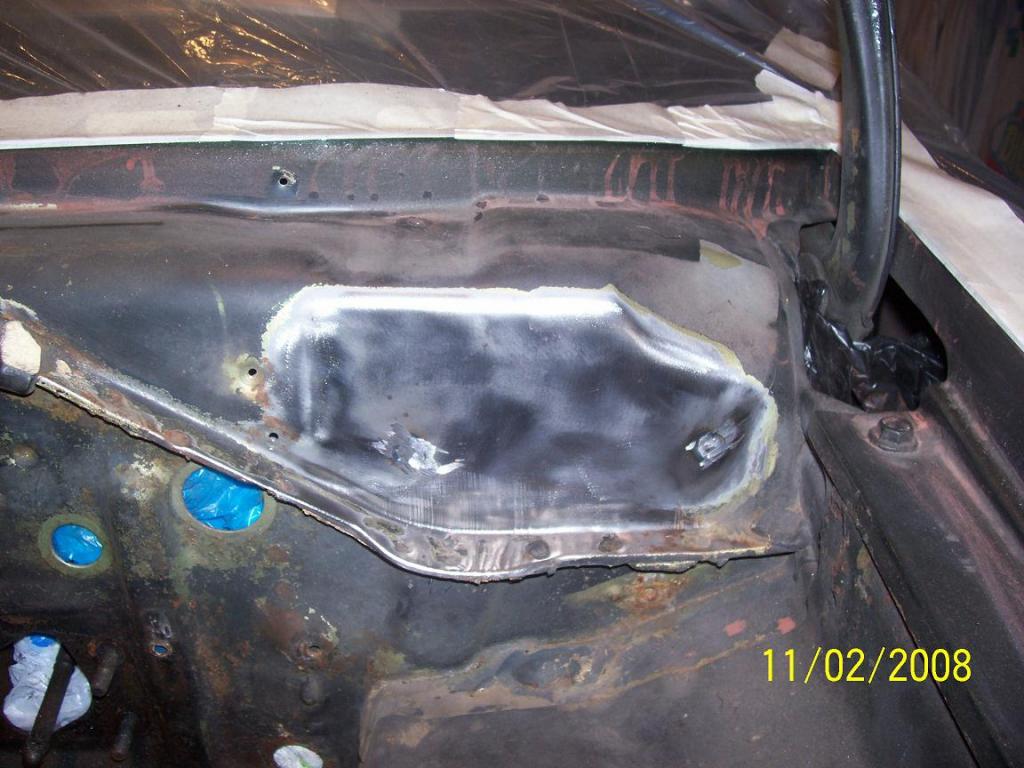
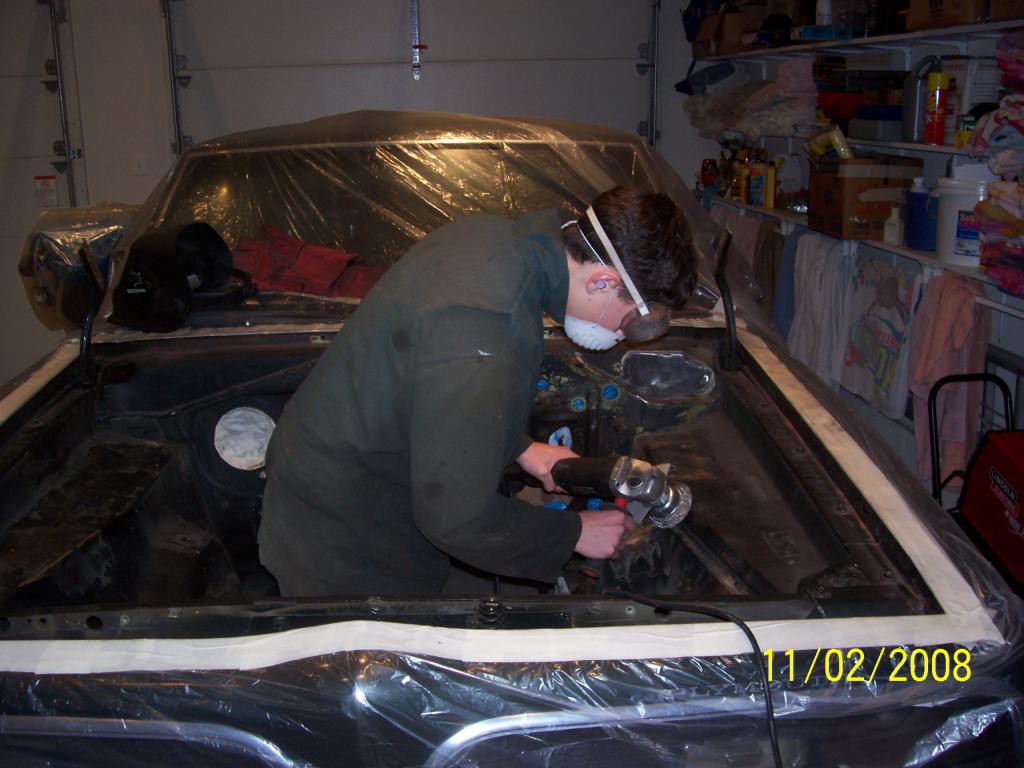
Painting
After all surfaces were stripped of old paint and the holes and rust were repaired, it was time to paint the engine compartment. The surfaces were first wiped down with Brake Parts Cleaner and fresh paper towels to remove all oils and other contaminants. This creates a very good surface for the paint to adhere to. Then the entire engine compartment area was primered. After that the engine compartment was painted with multiple coats of body color.The paint was then let set for one week to allow it to settle and fully dry. Then the entire engine compartment was sanded down by hand with 400 grit sand paper. After that it was wiped down with Wax and Grease Remover then wiped down with a Tac Cloth. That got the surfaces super smooth and clean of any contaminants. Then one wet coat of final color was sprayed on to give it a professional looking smooth shiny finish. The engine compartment matches the outside body color of the car perfectly.
Assembly
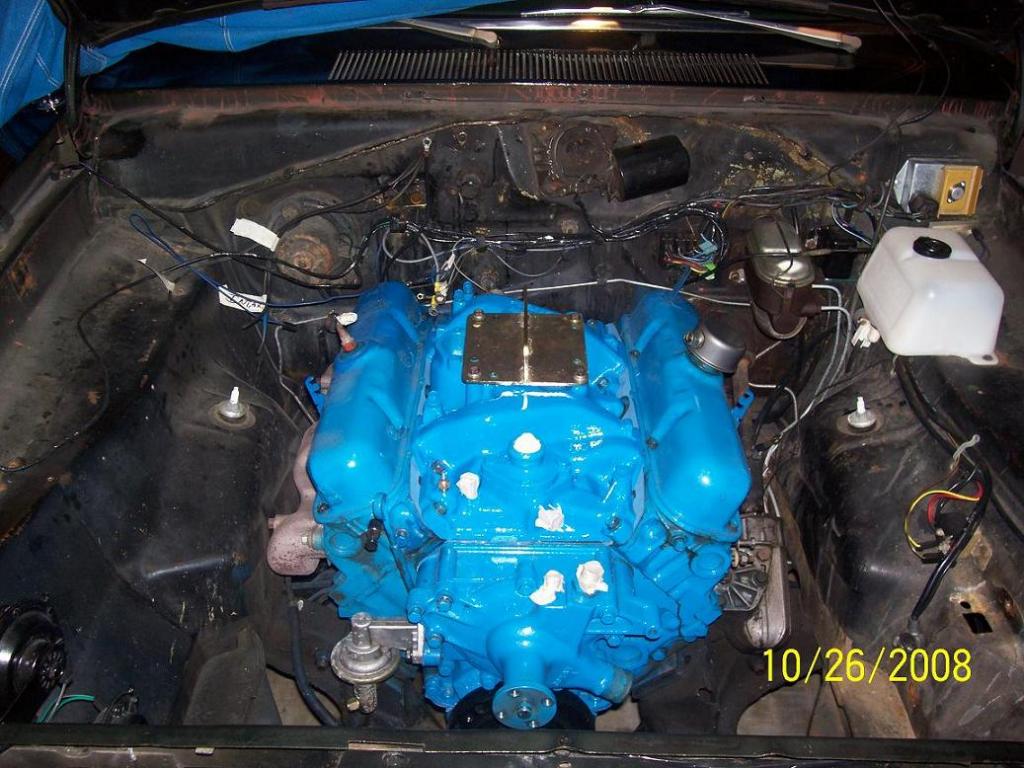
All removed components were either replace or cleaned up and painted before being reinstalled back into the engine compartment. New brake lines and a new master cylinder were installed. I ordered a steering box bearing and seal kit and rebuilt the steering box. The steering column was cleaned, lubricated, and reinstalled. The heater fan was painted and reinstalled. I cleaned up and reinstalled all the wire harnesses (they had been replaced not long ago). I also installed all new windshield washer hoses.Install New Engine
After that the new engine was installed with all new coolant hoses. Reproduction hose clamps were installed to give it that original factory look. The radiator and other components were also installed. The hood was then reinstalled and adjusted to complete the project.That is how I painted my engine compartment. I hope you enjoyed reading and looking at the pictures.