Barracuda Engine Build
This page will show the process of building a 414 cubic inch stroker engine for the Barracuda. The engine is referred to as a stroker engine because it utilizes a crankshaft with a longer than stock stroke. This increased stroke provides a dramtic increase in torque and horsepower.Because this Barracuda is a low production factory musclecar the original numbers matching engine was pulled and set asside. This way the car could be put back to original in a day if desired at a later time.
Engine Specifications
Following is are the specifications for this engine:- 1971 340 block bored .020"
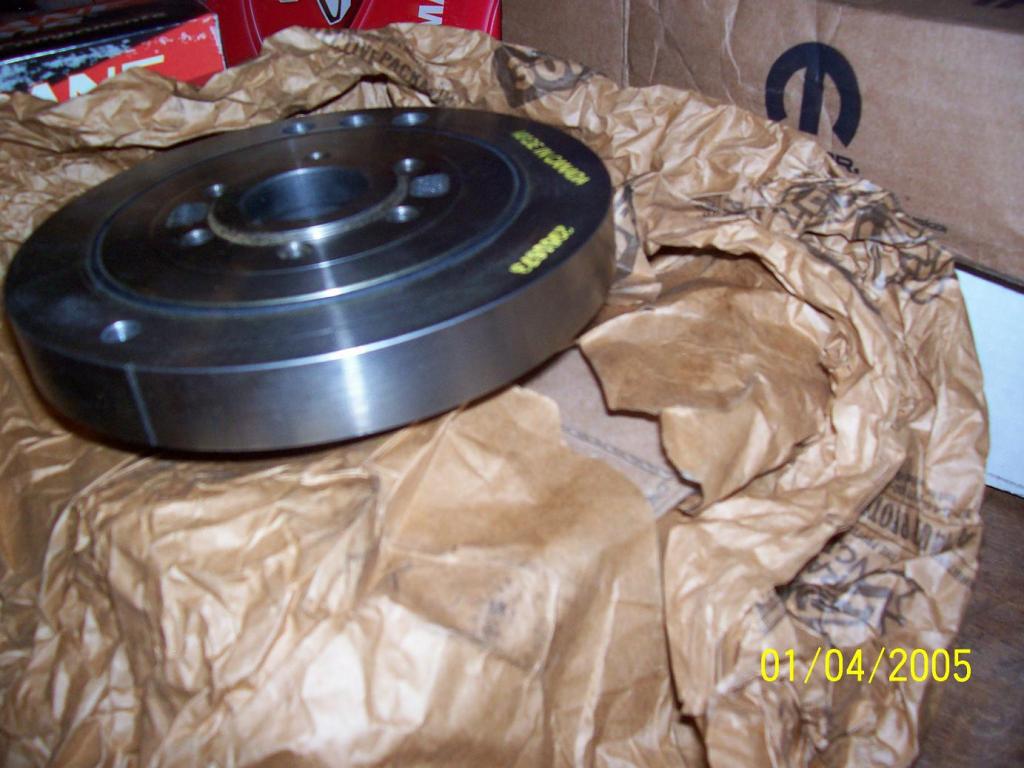
- Scat 4" cast steel crank shaft
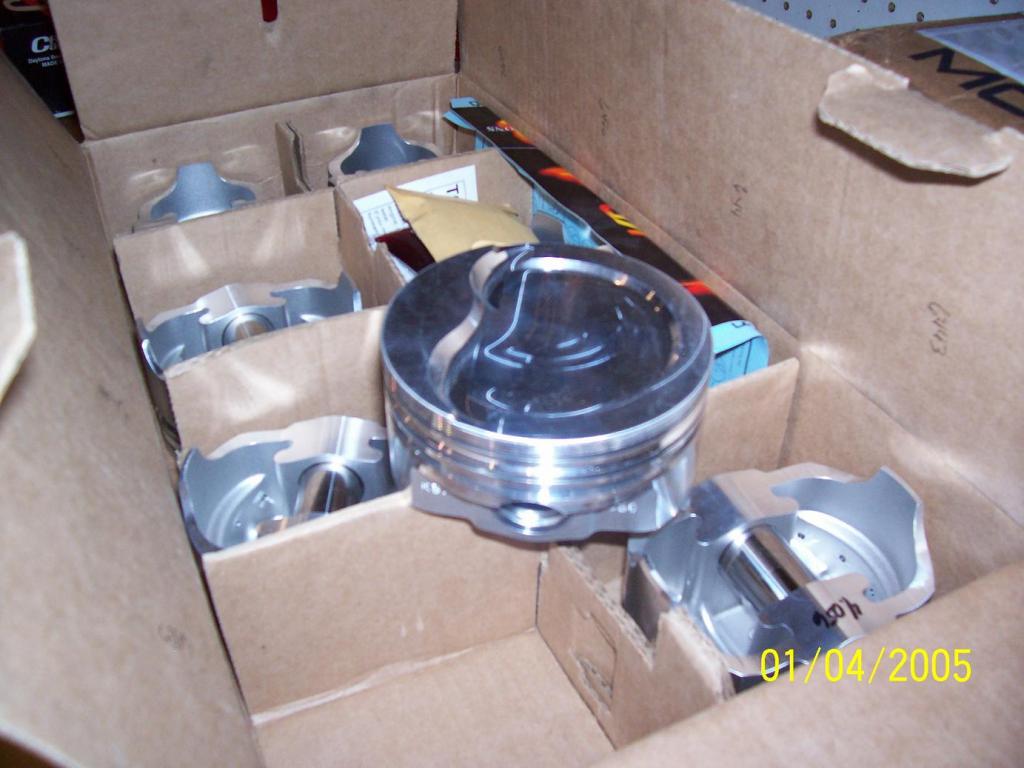
- Keith Black 745 step dish pistons
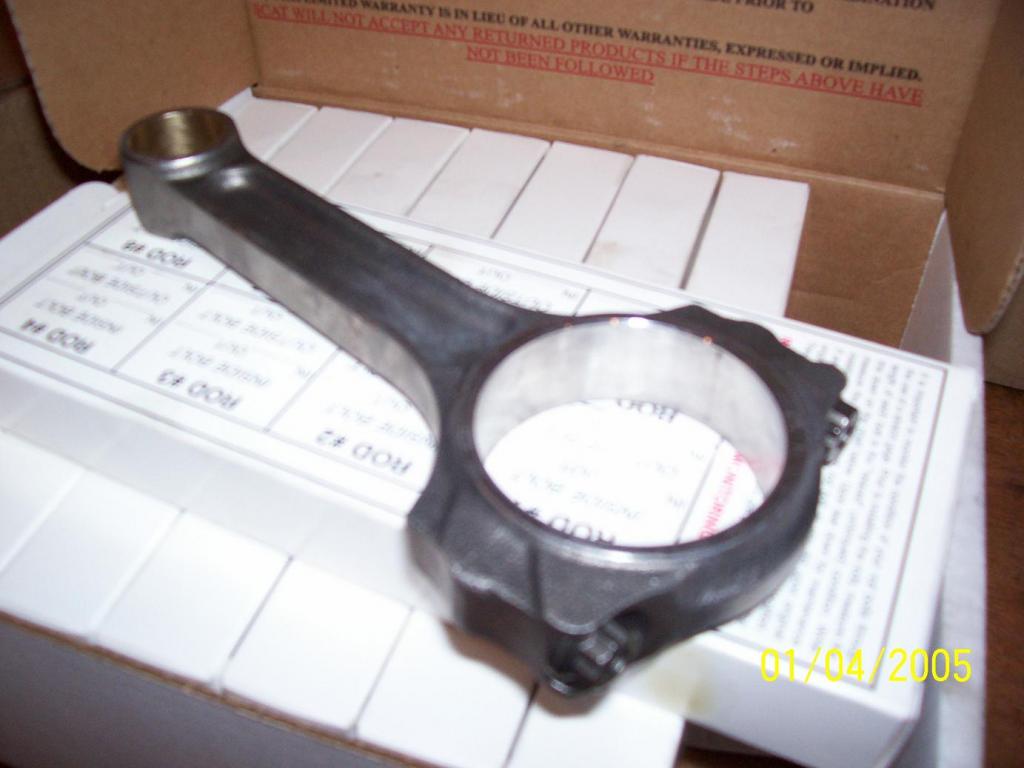
- Scat I-beam rods
- Edelbrock Stage 2 Ported Heads milled to 62 cc for 10.3:1 compression by Shady Dell Speed
- Crane springs installed at 1.85" with Crane 10 degree locks and retainers
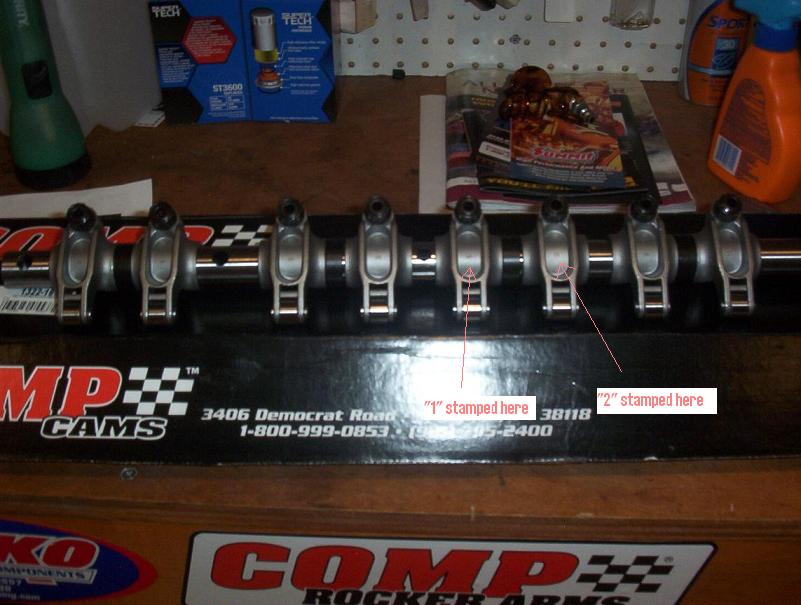
- Comp Cams Pro Magnum roller rockers
- Cam is 586/540 lift, 236/242 @ 50 duration intake/exhaust 108 LSA custom ground retrofit hydraulic roller by Indio Motor Machines in CA
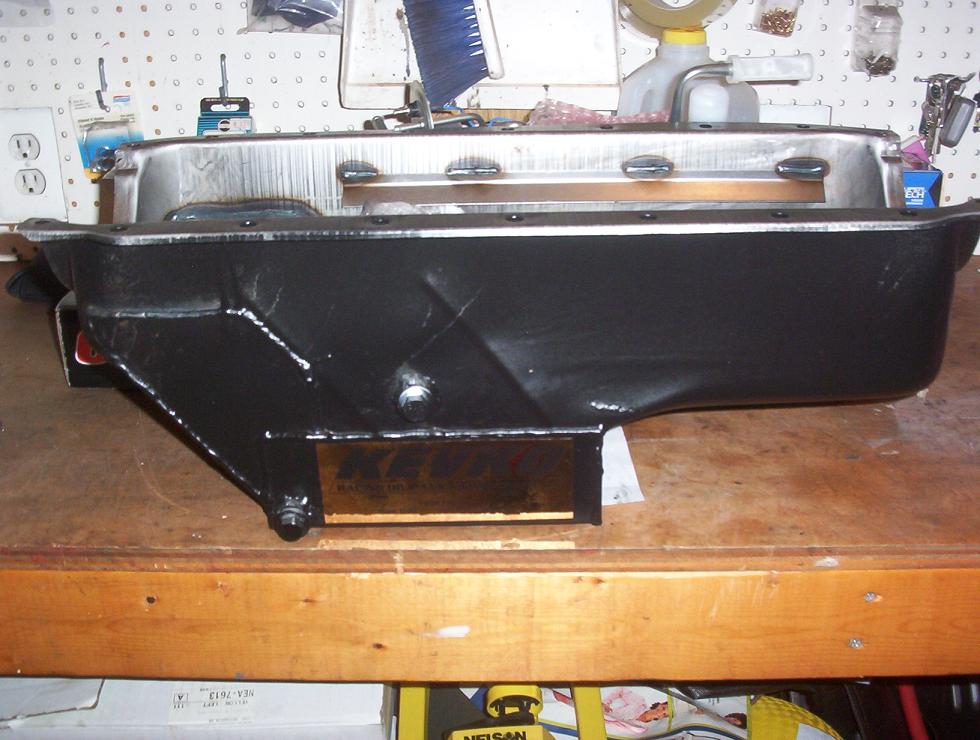
- Oil pan is a Kevko 6 quart
- LD340 intake manifold
- Holley 750 DP
- TTI step headers with TTI 2 1/2" exhaust with Dynamax Utra Flo mufflers
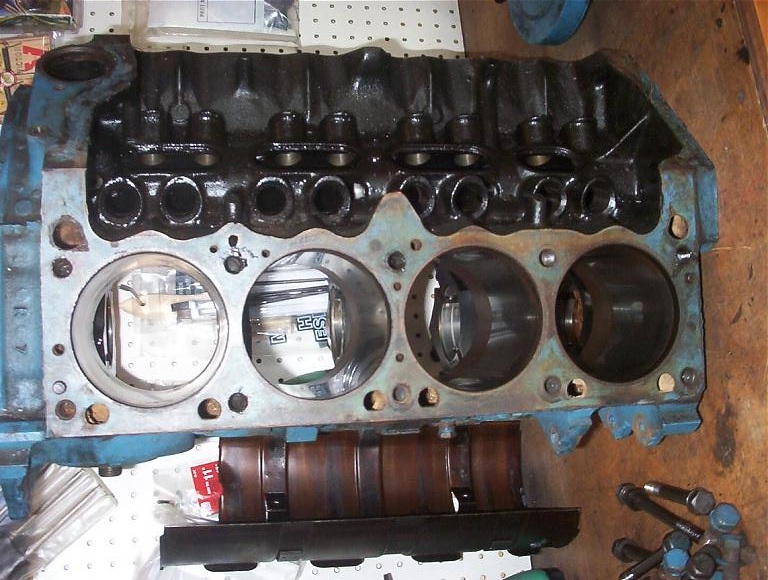
Engine Block
The foundation of this engine is a 1971 340 engine block that had never been bored. I saw an ad on a car forum for the block. It was located in New Jersey. So a road trip was in order to go pick it up. I took a telescopic micrometer with me to measure the bores to make sure the engine was standard bore as claimed. It check out so funds were exchanged and it was brought home.The engine came with main caps, pistons, rods, a timing cover and some bolts and other small items. The pistons and rods were later sold to recover some money.
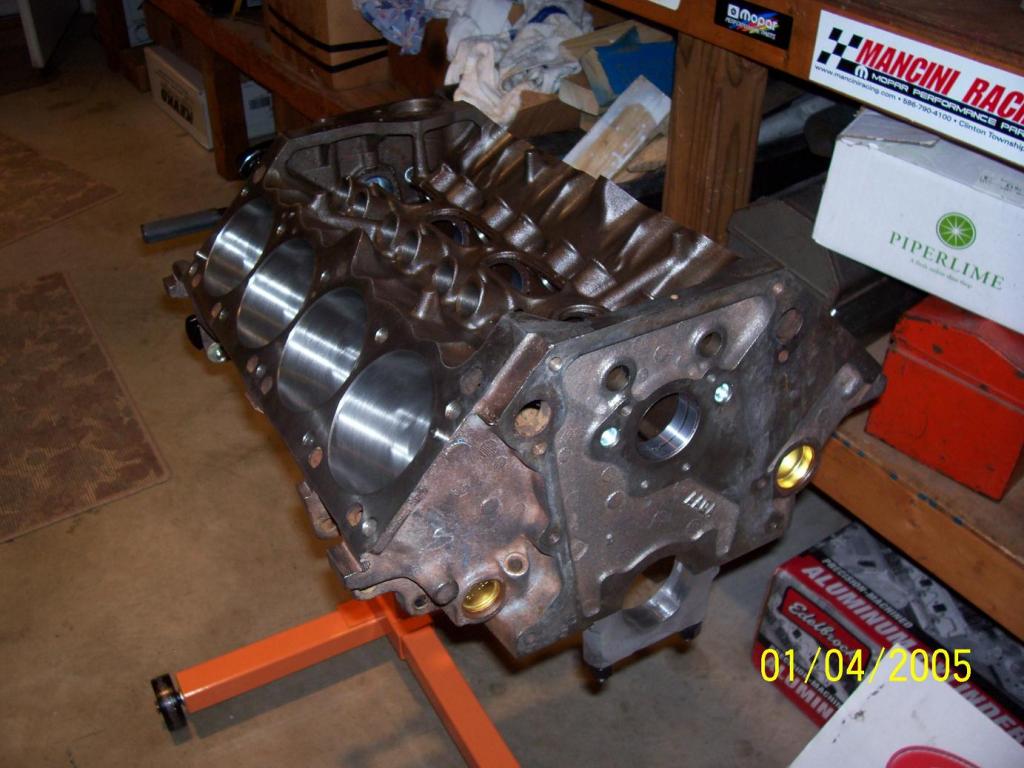
The engine block was sent to the machine shop to be cleaned and checked for cracks. After that they line honed the main, bored the cylinders .020" over, decked the block to get the pistons at zero deck, and installed new freeze plugs. No block modifications were needed for the longer stroke crank shaft.
After all the machining was done the block was returned back to me.

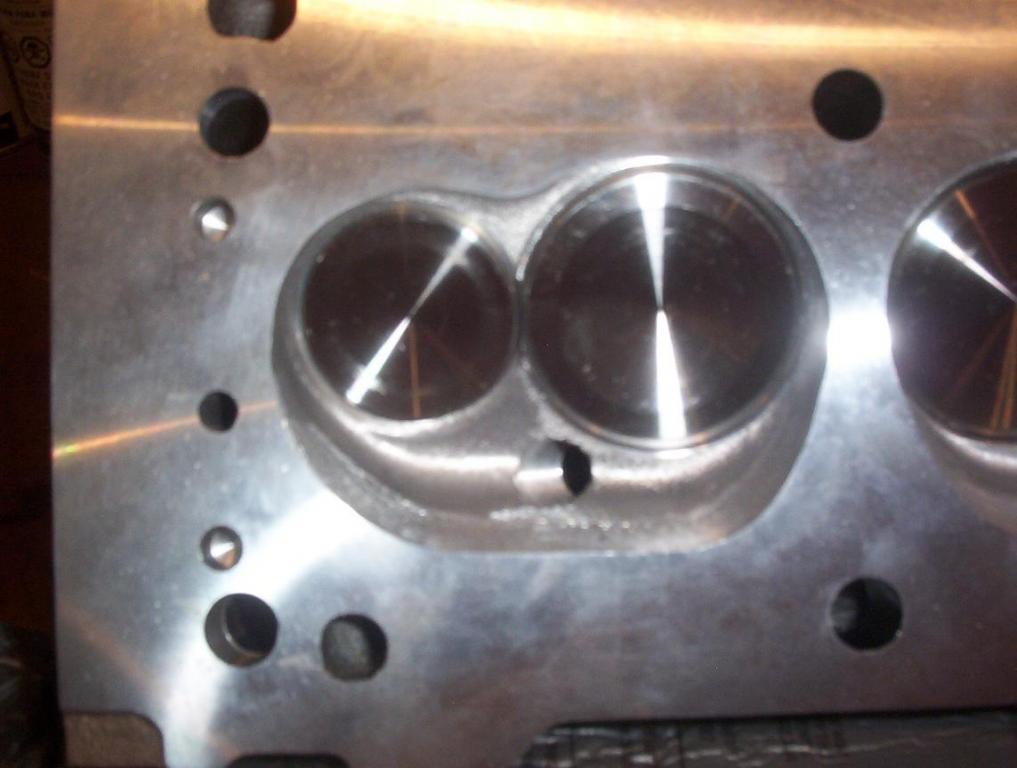
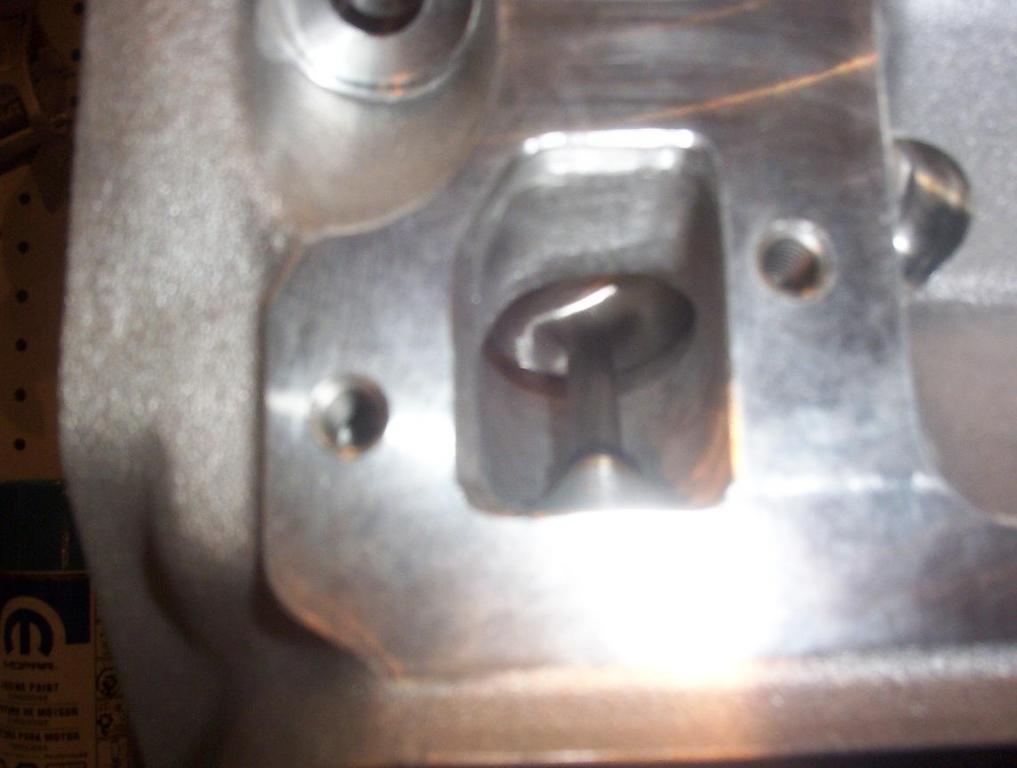
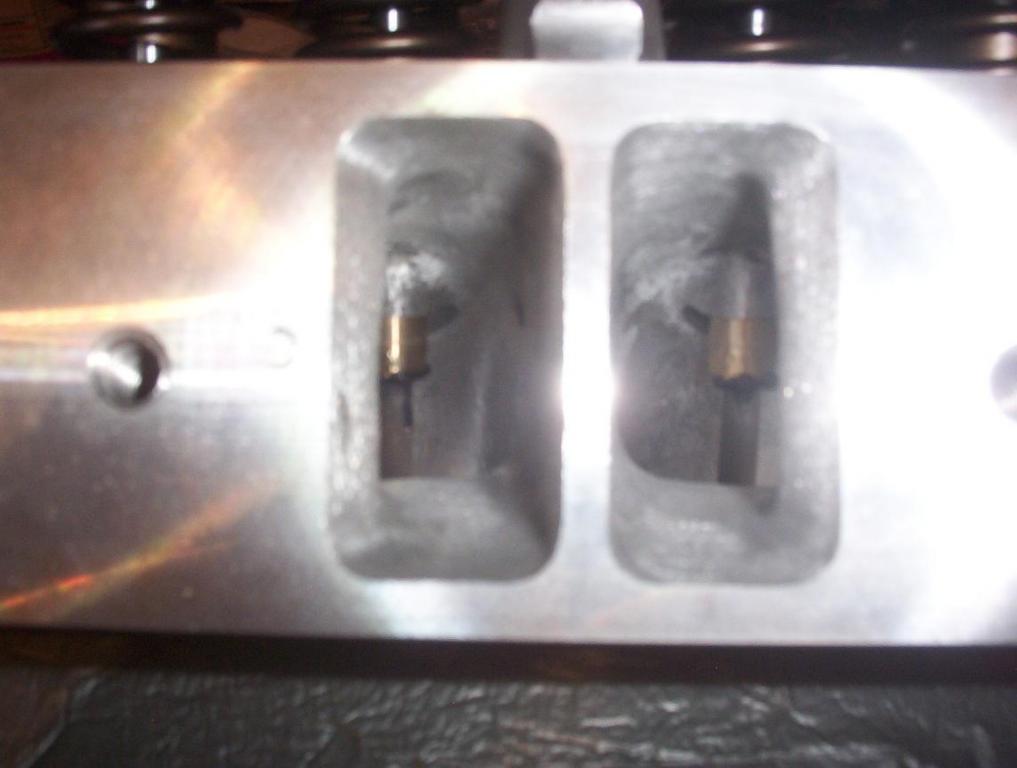
Cylinder Heads
Edelbrock cylinders heads were selected because they are aluminum and reduce engine weight by about 50 pounds. They also flow a lot of air for good power. These heads were purchased from Shady Dell Speed shop with their stage 2 port job performed. They were also milled to get the compression at 10.3:1 with the dished pistons. The retainers and locks were upgraded to 10 degree for increased strength. The valve springs were also upgraded to match the camshaft. Each spring was shimmed for an install height of 1.85".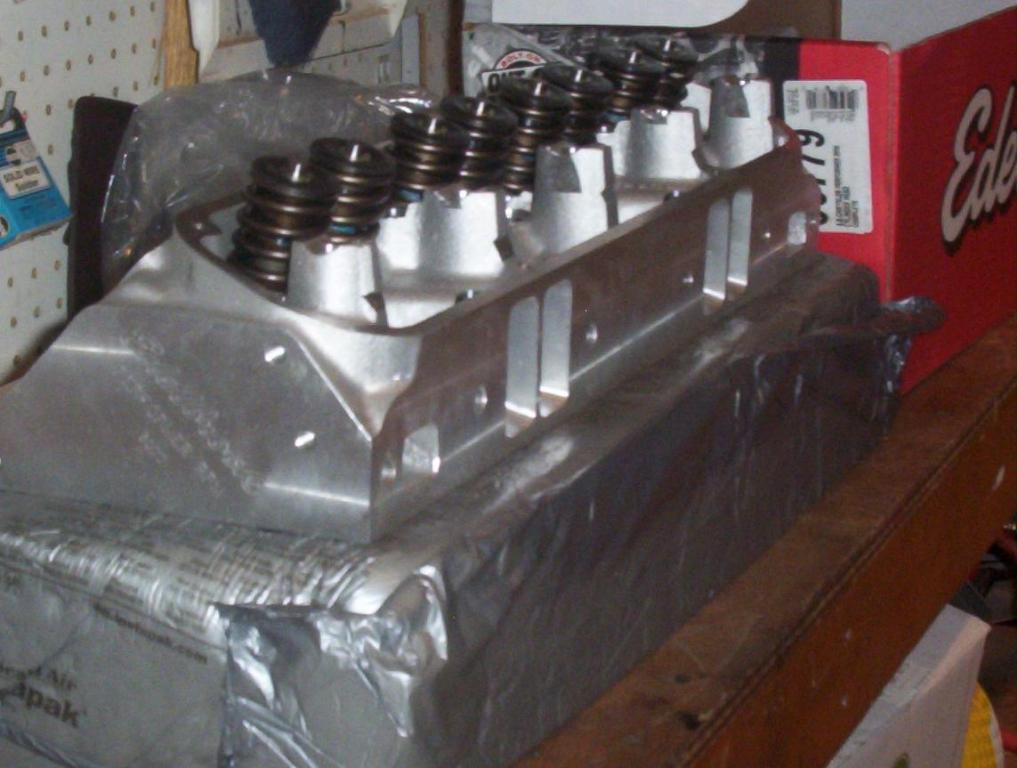
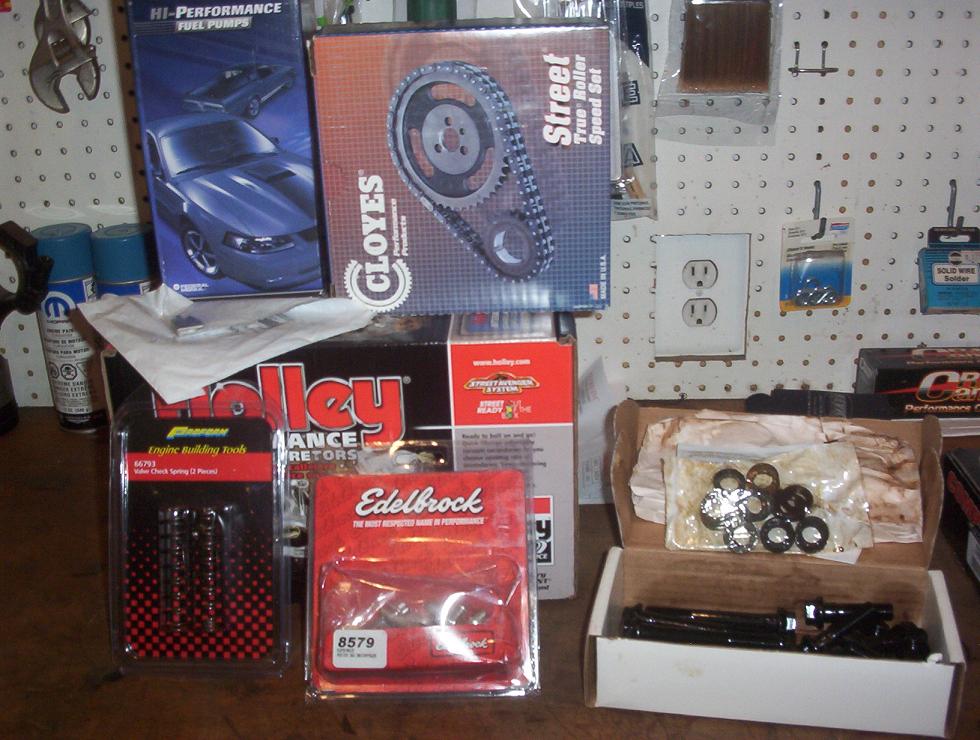
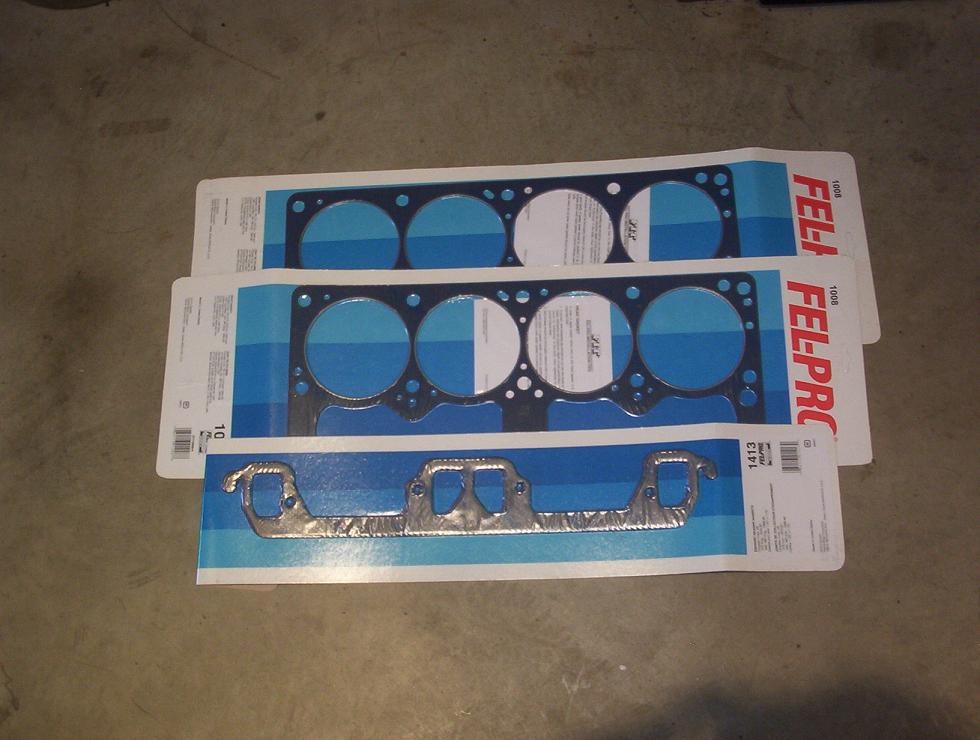
Misc Engine Parts
Since this engine was being built starting with a bare engine block a lot of parts had to be bought to complete it. Parts such as gaskets, cylinder head bolts, rocker arms, valve covers, timing chain cover, timing chain, oil pan, fuel pump, carburetor etc were all purchased.The rocker arms are Comp Cams Pro Magnum steel. These were selected for the durability for street driving. The rocker arm hold downs and bolts are from Hughs Engines. These parts fit onto the Edelbrock heads without issue.
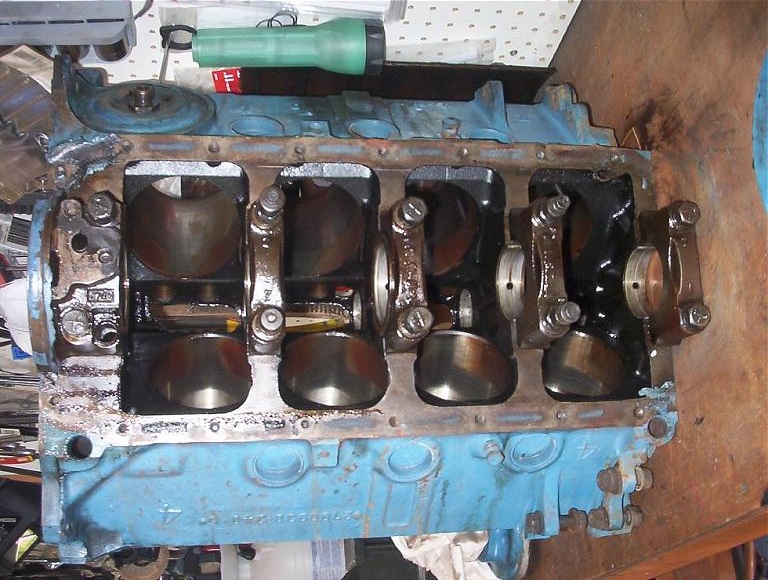
Shoft Block Assembly
The first step to assembling the engine is to clean the block to insure no debri is present. Any debri left in the oil passages will result in a very short engine life.The first thing to go into the block was the camshaft. By putting it in first I could insure the cam bearings were not too tight. Also, without the crank and rods in the way one can put a hand up there and guide the cam into the block.
Next the main and rod clearances were checked. I measured .002" clearance on all the mains and .0025" clearance on all the rods. The piston ring gaps were all measured by placing each ring in the bore and using feeler guages to measure the gaps.
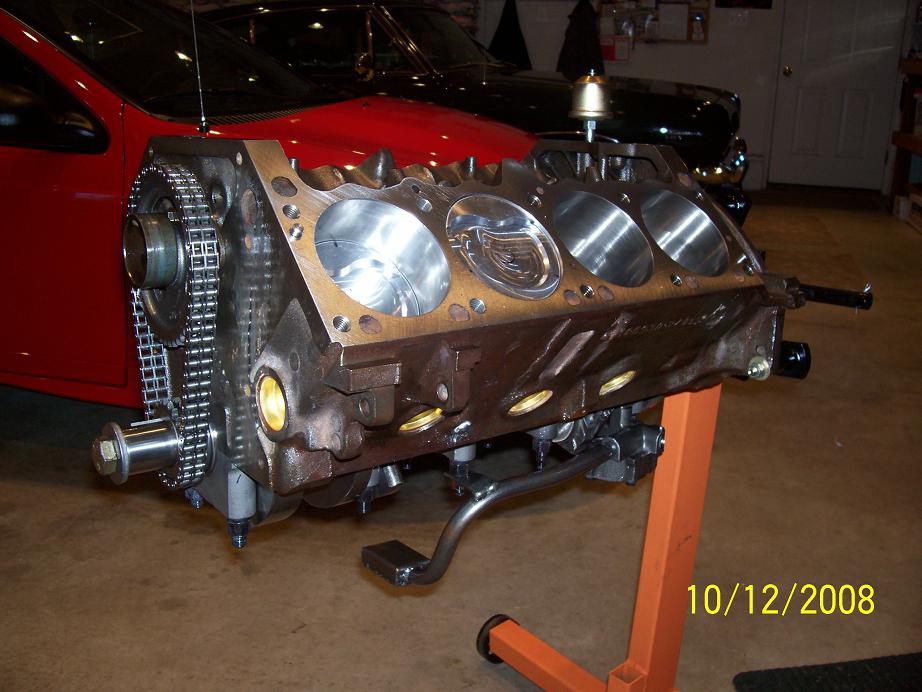
After everything was checked the crank was placed in the block and run out and thrust were checked. One thing I did do was fully assemble rods, pistons, and crank with no piston rings to insure engine would spin freely which it did. Then pistons, rods, and rings were assembled and slid in each bore and rod bolts torque to spec. Extensive time was spent to insure the camshaft was degreed in perfectly. A 1 degree key was used to retard the cam to bring it completely into spec.
After the bottom end was assembled I installed the oil pump, oil pan, all the lifters and ran the oil pump with a drill. The passages going to the cylinder heads were blocked off for this test. The goal was to make sure the roller lifters did not bleed off oil as the camshaft rotated. I did find that oil hemmoraged between the lifter and lifter bore at max lift on various lifters. The solution was to get a custom ground camshaft with a small base circle made. This allowed the lifters to ride lower in their bore and prevent the oil bleed off problem. I was able to return the original cam so no additional cost was incurred going with the custom cam.
Install Cylinder Heads
Lastly the cylinder heads were bolted into place. Extensive grinding on the push rod holes in the cylinder heads was required for push rod clearance. Other than that bolting on the cylinder heads was easy. However because they were milled the intake manifold did not fit. The best solution is to mill the intake manifold surface on the cylinder heads but that would be time consuming and expensive. So I opted to have the intake milled instead. That took care of that problem.
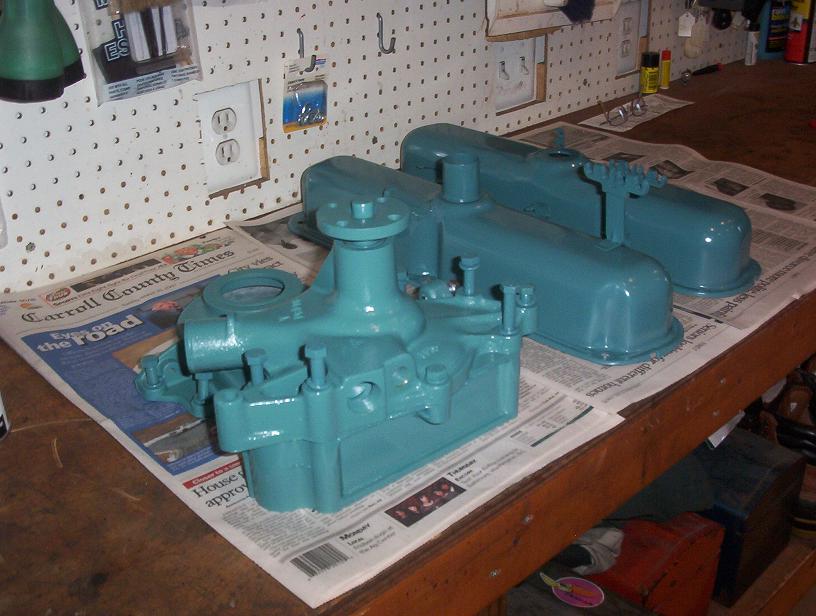
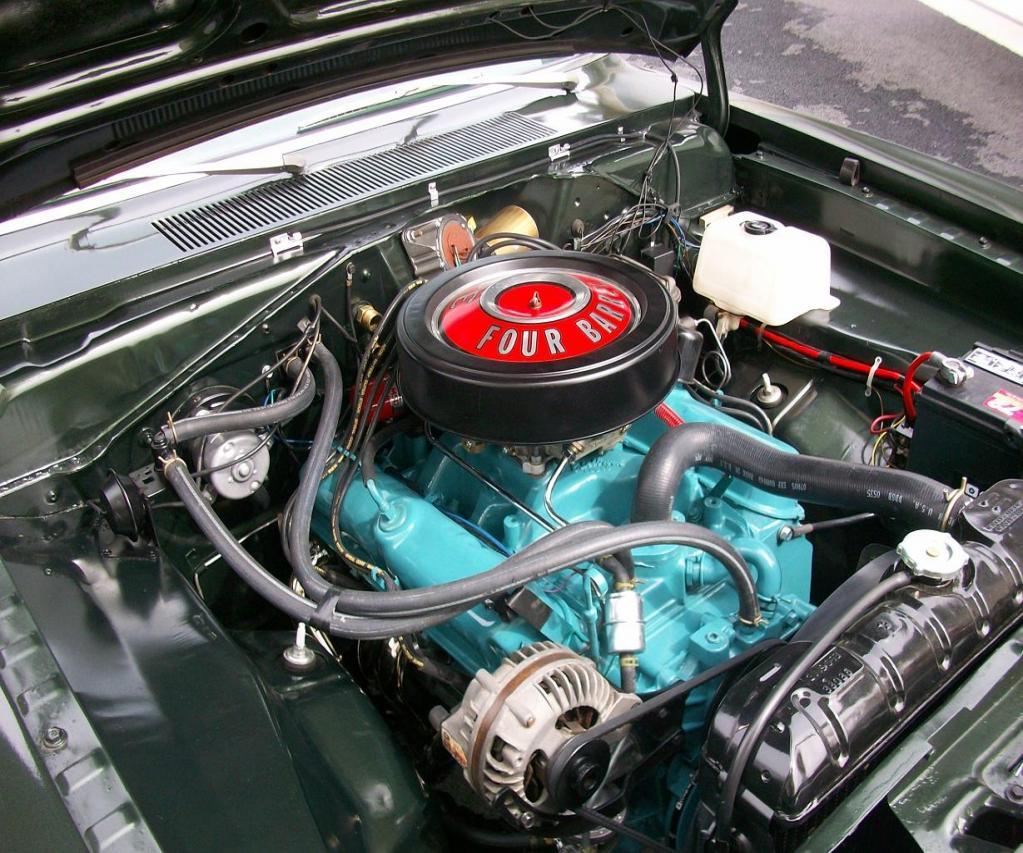
After the engine was fully assembled it was degreased with Brake Parts Cleaner and blown off with compressed air. Once dry it was painted turquoise as was original for this car. I found a set of original style valve covers and used the original air cleaner to give the engine a stock looking appearance.

Transmission Lines
Once the engine and trans were put into the car the original style transmission lines would not clear the headers. And the transmission lines could not be modified to fit. So all new transmission lines were custom fabricated to clear the headers. The bending of the lines was done using the original engine and spare transmission as models to determine how the lines should be bent. Once the bends were perfected the new lines were installed.After that all the other components were installed to complete the engine swap. Since the engine had moly rings and a roller camshaft no engine break in was required.
That is how I built my stroker engine. I hope you enjoyed reading and looking at the pictures.