Mustang Modifications
This page will show some of the modifications done to our '88 Mustang LX Hatchback. At this point the car already has the 2.3 4 cylinder turbo charged engine and 5 speed transmission installed.R134 AC Conversion
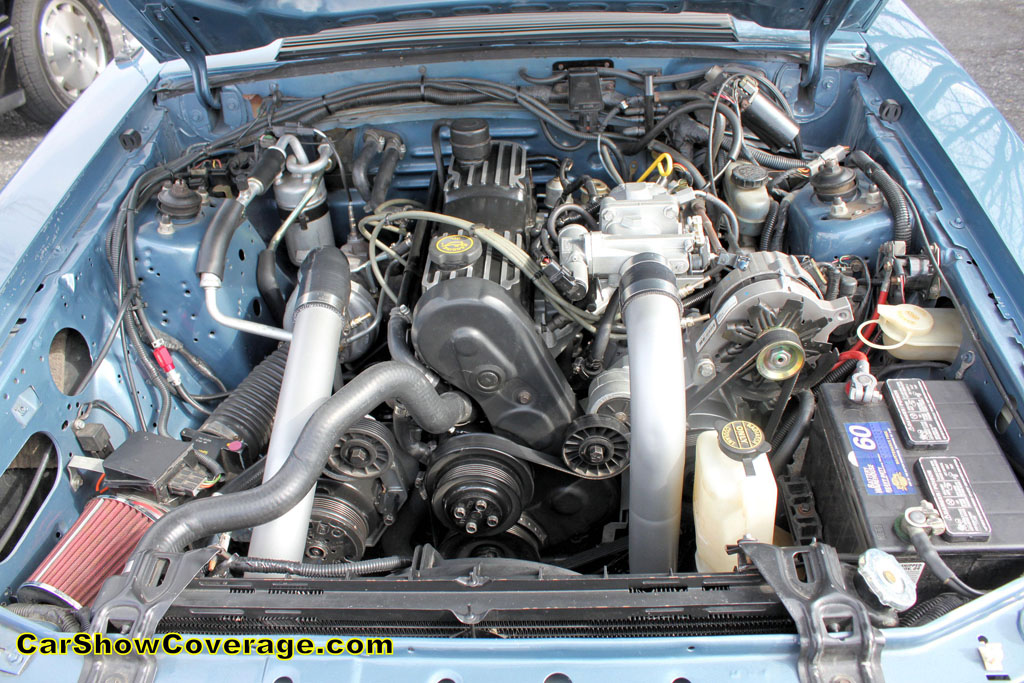
This car originally came with factory air conditioning. When was the last time it worked who knows. So we cleaned up all the parts and painted them. We replaced the filter/drier assembly with a reproduction unit but had to splice in the original metal line to clear the turbo charger. The AC condensor (goes in front of the radiator) was pulled from the junk yard because the one on the car had a lot of bent up fins. The line with the oriface tube was cheap so we replaced that. Then we replaced all the o-rings in the lines and installed R134 conversion fittings. The low pressure switch was also replaced. We poured about 2 ounces of pag oil into the compressor to lubricate it. We then vacuumed the system down for a couple of hours and charged it up with two 12 ounce cans of R134 (10 ounces refrigerant and 2 ounces of oil in each can). After that the system blew cold. And it doesn't leak down over the winter either.

Front Mount Intercooler
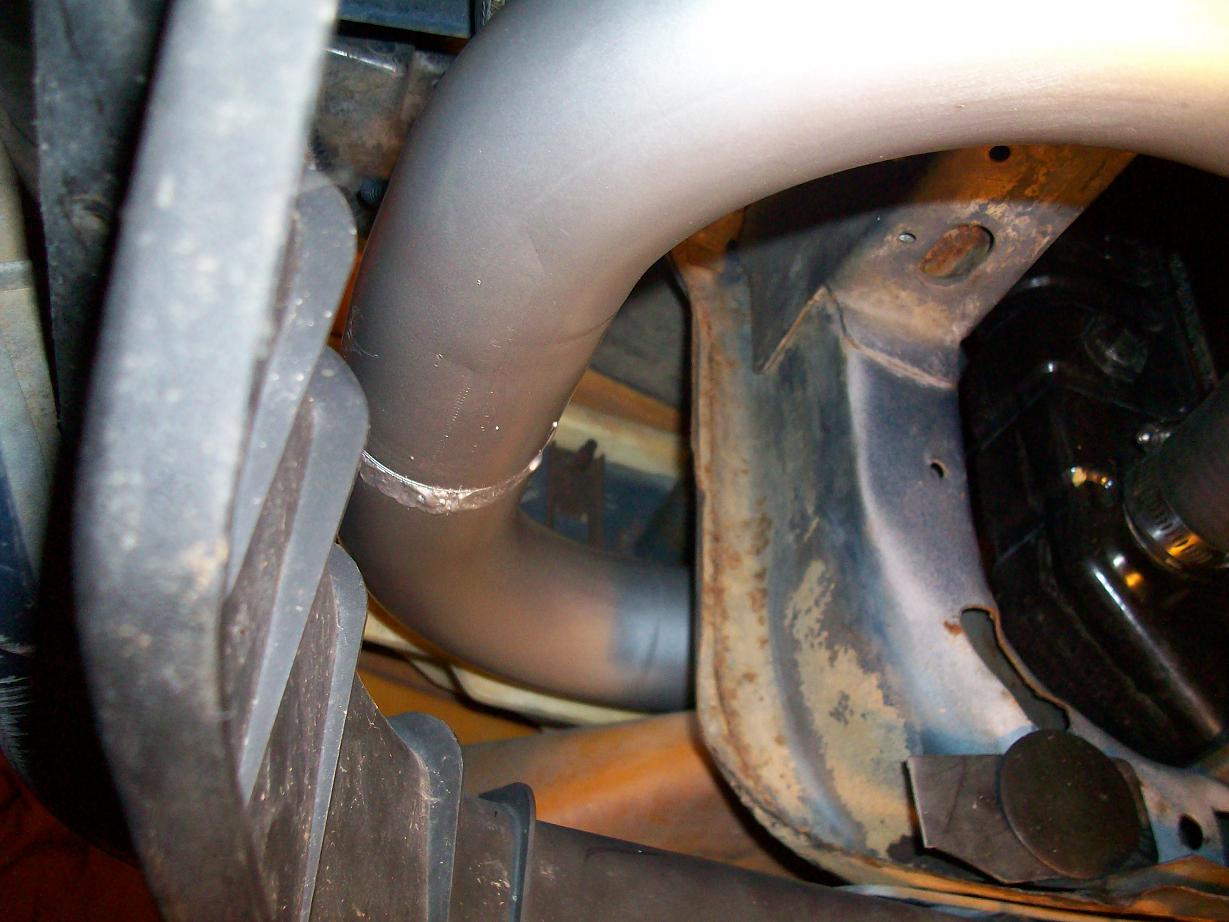
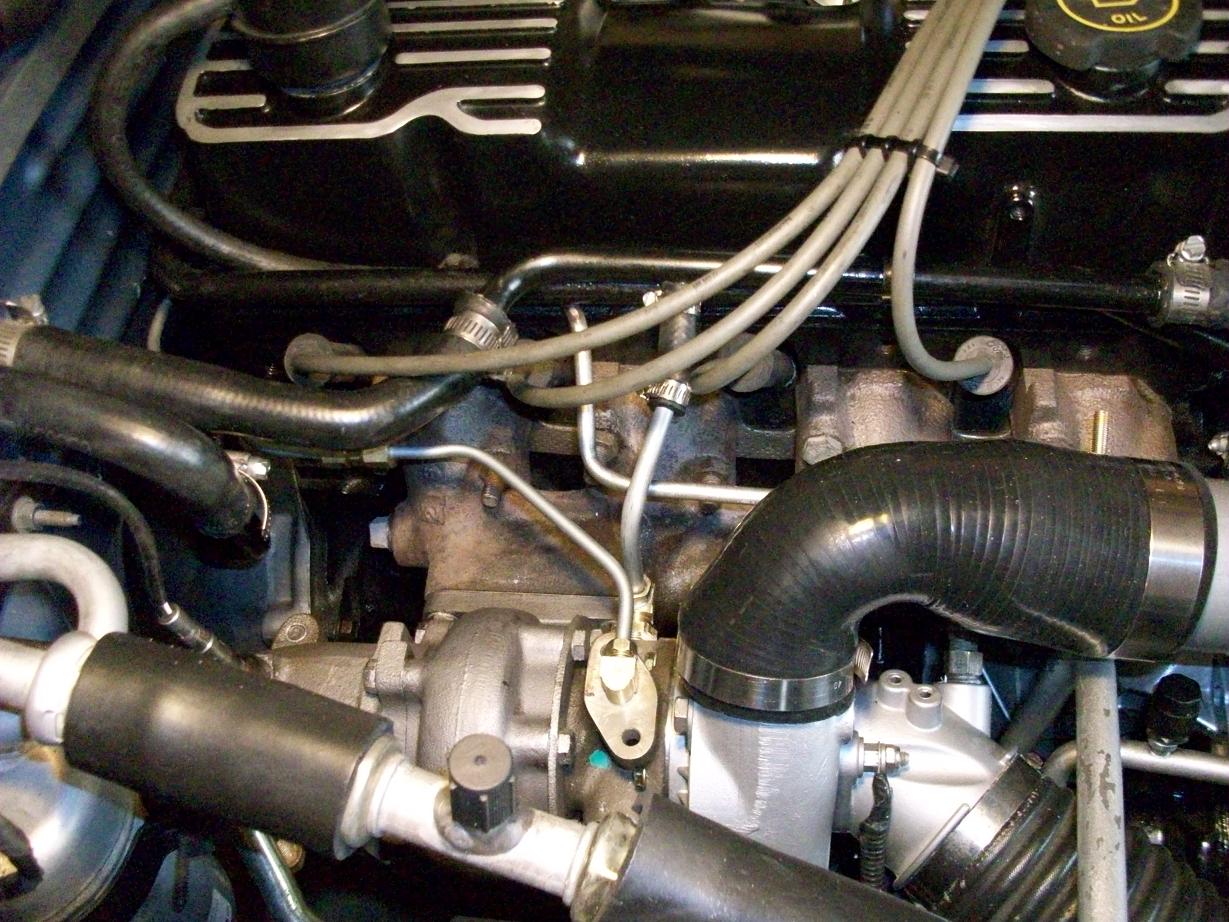
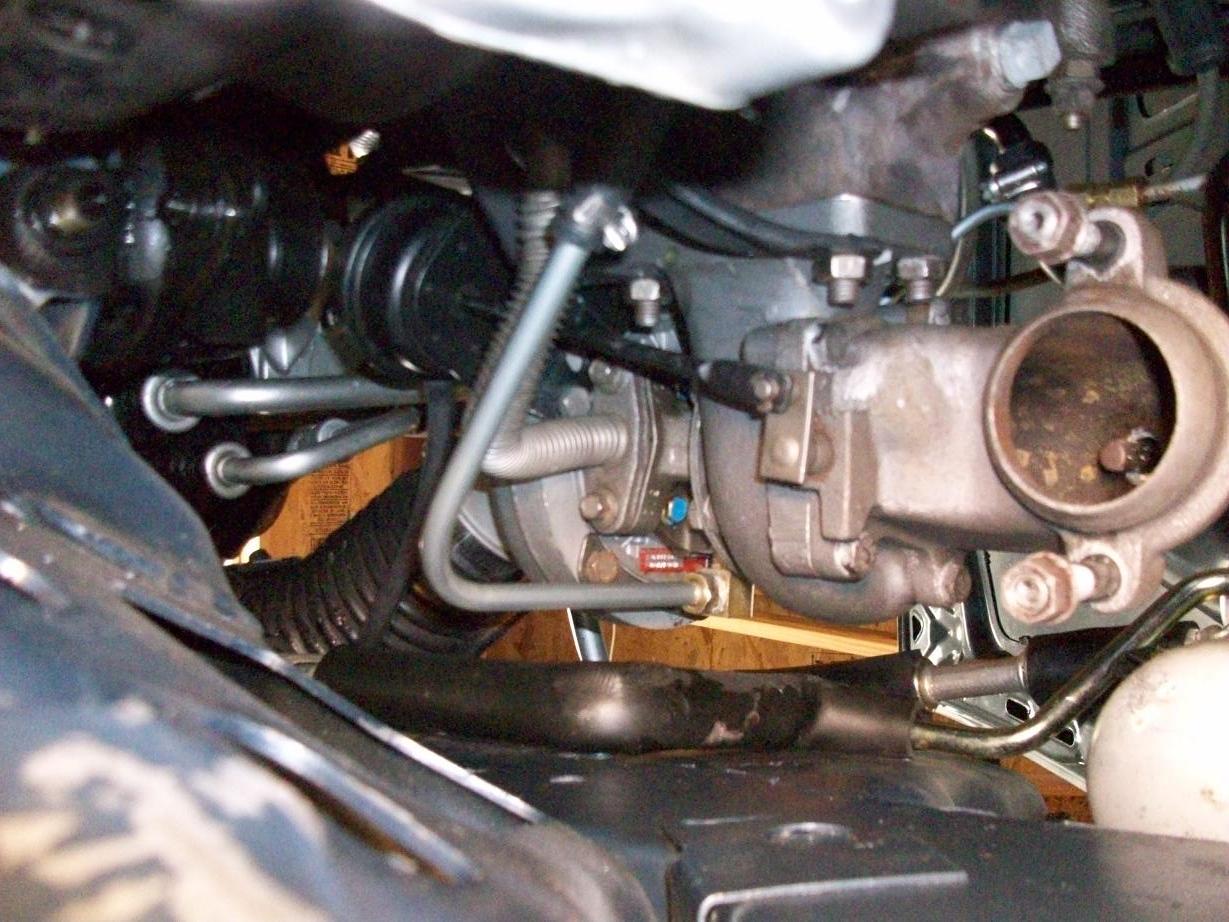
When we swapped the turbo engine into the car we initially ran the stock Thunderbird Turbo Coupe intercooler. Problem was the Mustang did not have scoops and ducting on the hood to route cool air through the intercooler. As a result hot air was being pumped into the engine which greatly reduces power and stresses the internal engine parts. So a Stinger Performance Front Mount Intercooler kit was purchased. We had to cut the front bumper cover to move the intercooler forward to clear the AC condensor. We also had to have a custom pipe made on the driver's side to clear the radiator hose. Another part of the project was to send the upper intake manifold out to Mukur Depot to have it rotated 90 degrees. This keeps the cold side pipe away from the exhaust manifold side of the engine. As a result it really cleans up the look of the engine compartment. The car runs nice and cool now and we are able to turn the boost pressure up for more power without harming the engine.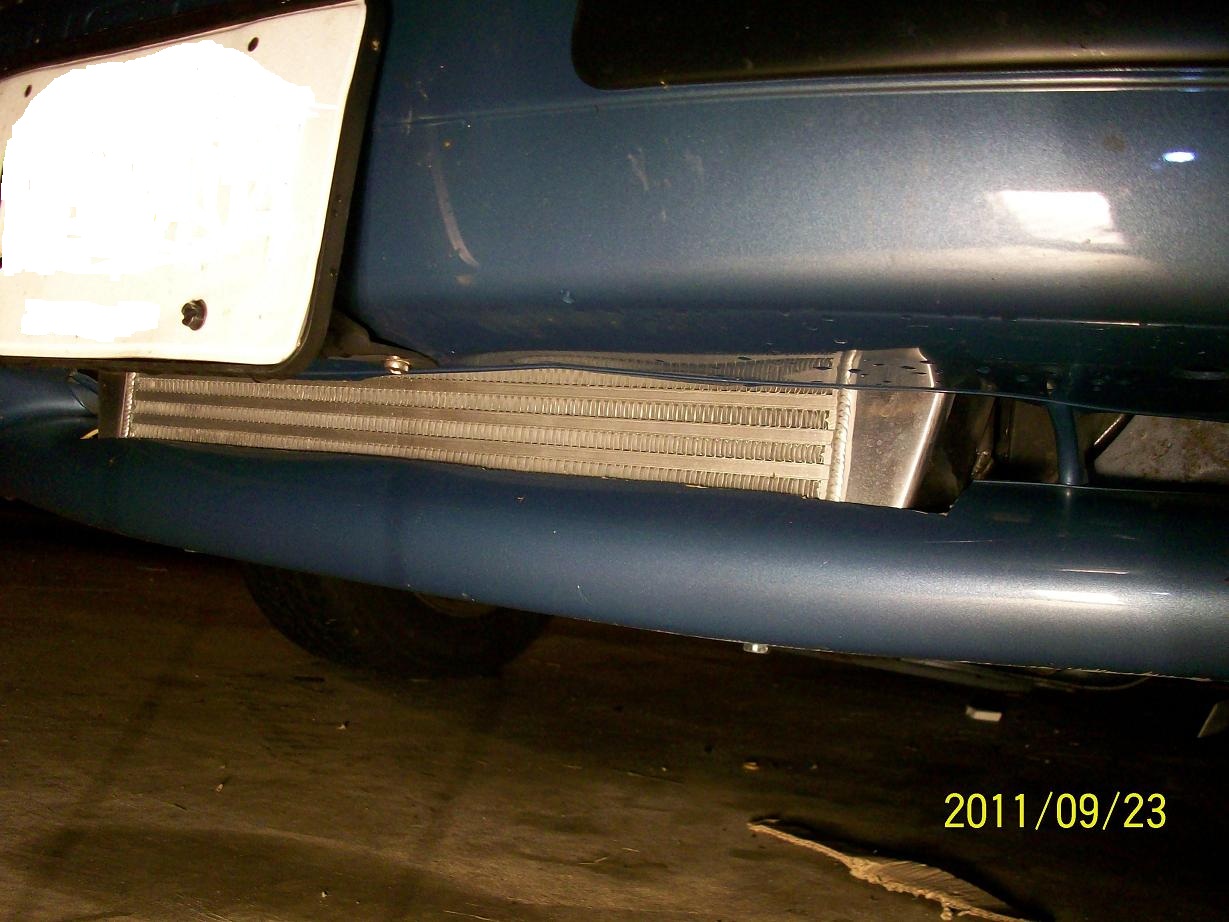
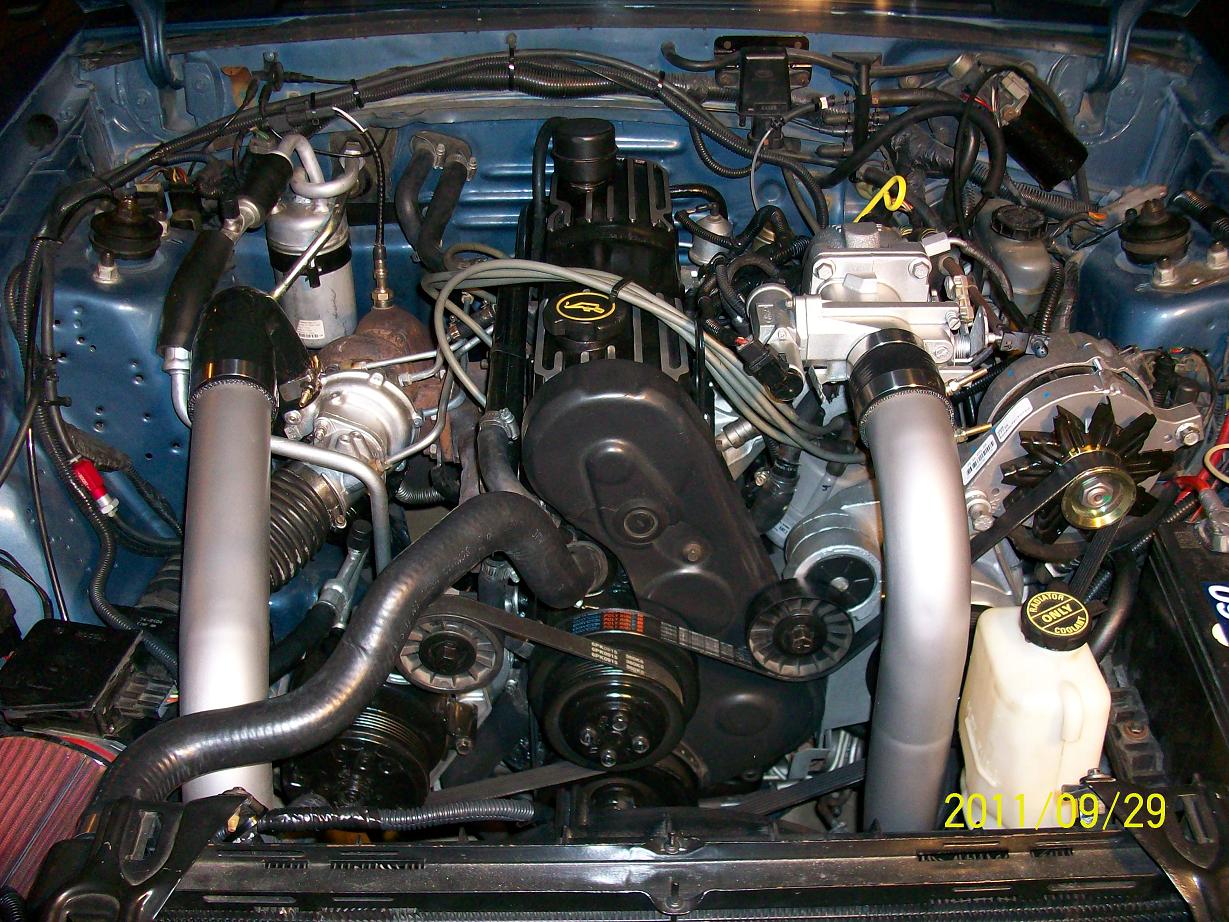
T3 Turbo Upgrade
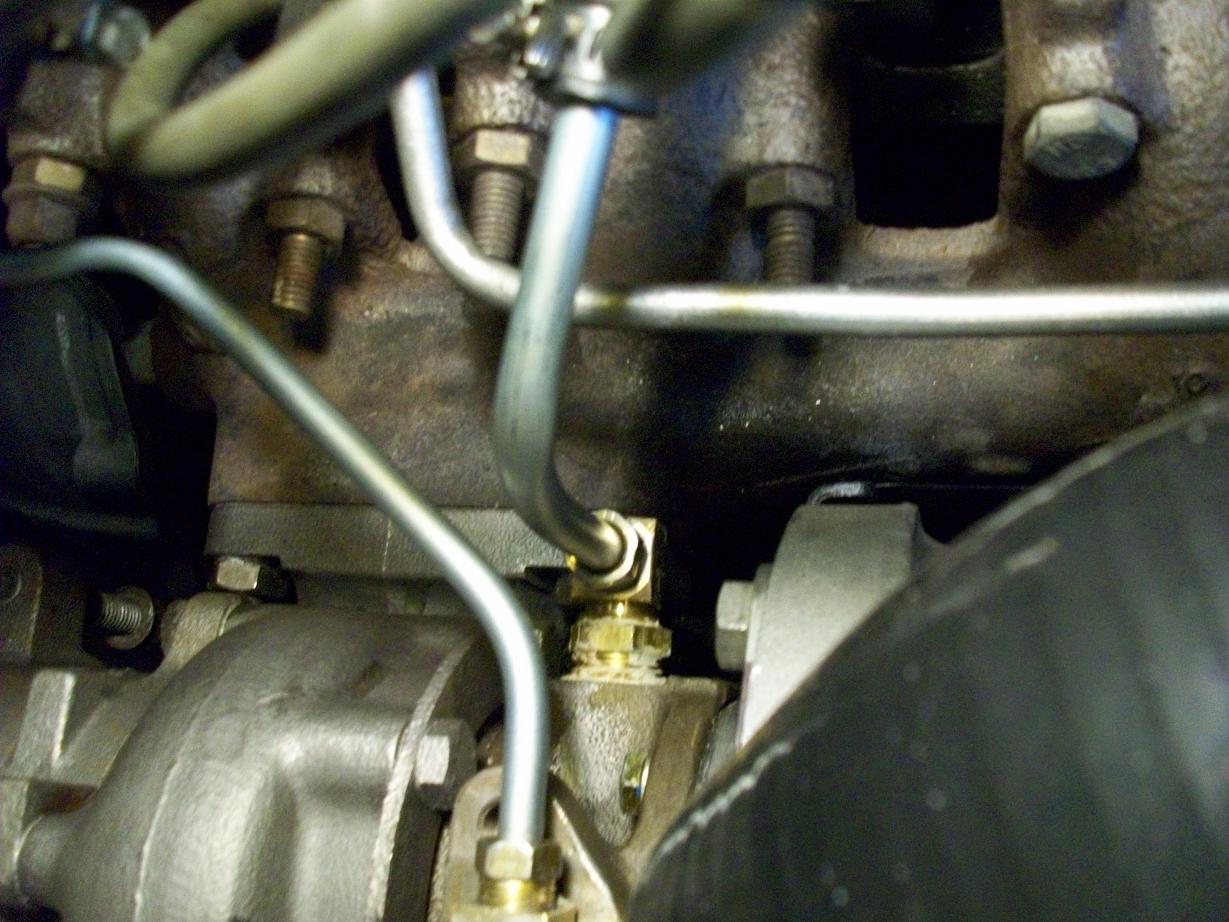
The turbo coupe engine came with the stock IHI turbo charger. This turbo is very small and provided great low end torque to get the heavy Thunderbird moving off the line. However, it generated excessive heat and was not well suited for higher boost pressures. So we saw a great deal on a fully reconditioned T3 turbo charger and bought it. The T3 is a bigger turbo charger so it gives up a little low end torque for more top end power. It also runs a lot cooler and cooler air means more power.The T3 is a direct bolt on in place of the stock IHI turbo. However, the coolant feed, coolant return, and oil return lines are different. The turbo came with the oil return line so no problem there. But the coolant lines had to be fabricated with steel tubing and automotive fittings. We found a couple articles on line about doing this swap but they all fell short when it came to the coolant lines. So after a lot of research and sifting through online fitting catalogs we assembled the parts needed to fabricate the coolant lines. The return line is a 3/8" 90 degree fitting with a 3/8" tube bent 90 degrees and required us to change the 5/16" hose size fitting in the engine block to 3/8". The coolant feed is 5/16" to match the size on the stock coolant tube it connects to. So we used a 3/8" to 5/16" bushing combined with a 90 degree 5/16" fitting to make that work. In the end the lines had a clean professional look to them and they don't leak which is always a plus.
We also used a 2 1/4" hole saw to cut the "ears" off the turbo outlet. The outlet housing is the old style which was used on cars with no intercooler. We use a 90 degree hose coupling to connect the turbo outlet to the intercooler pipe.
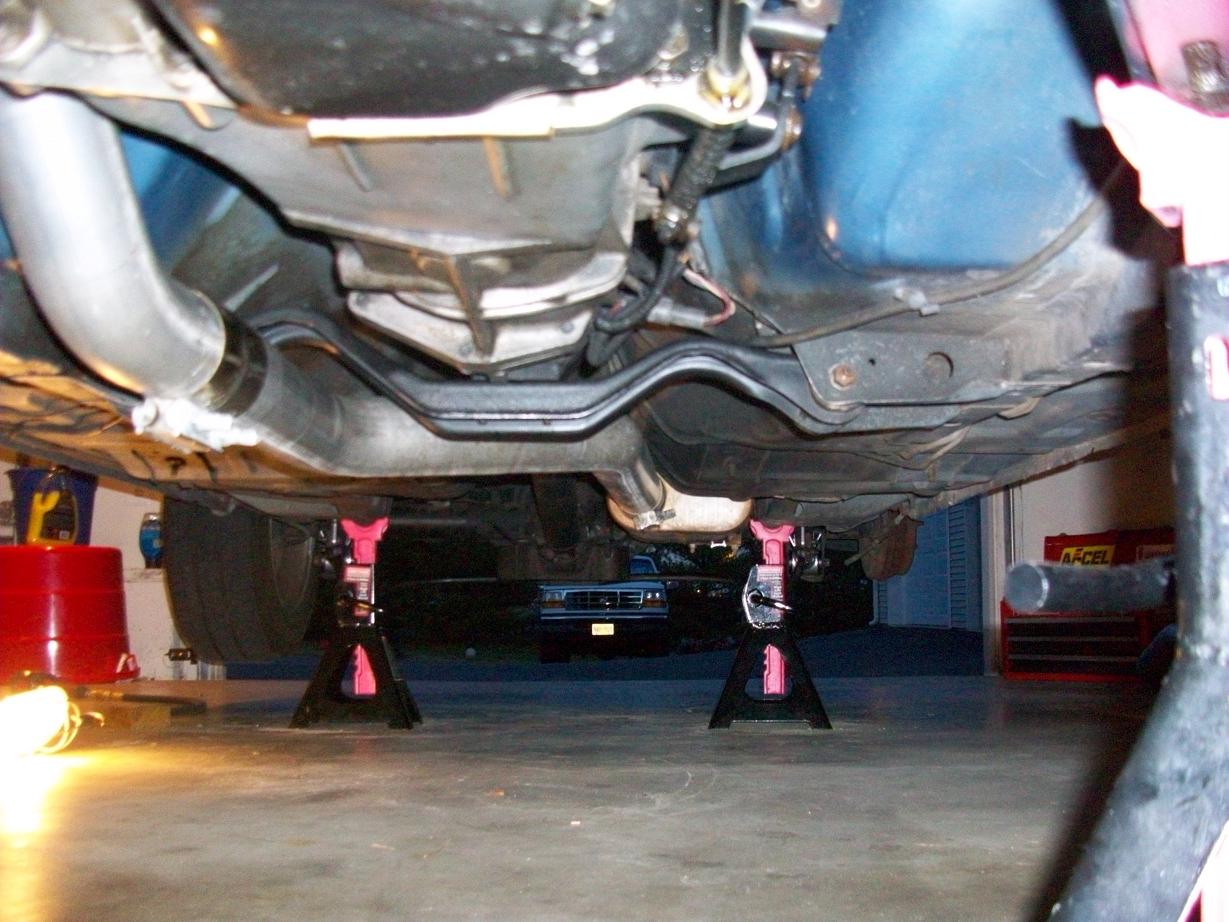
3" Exhaust System
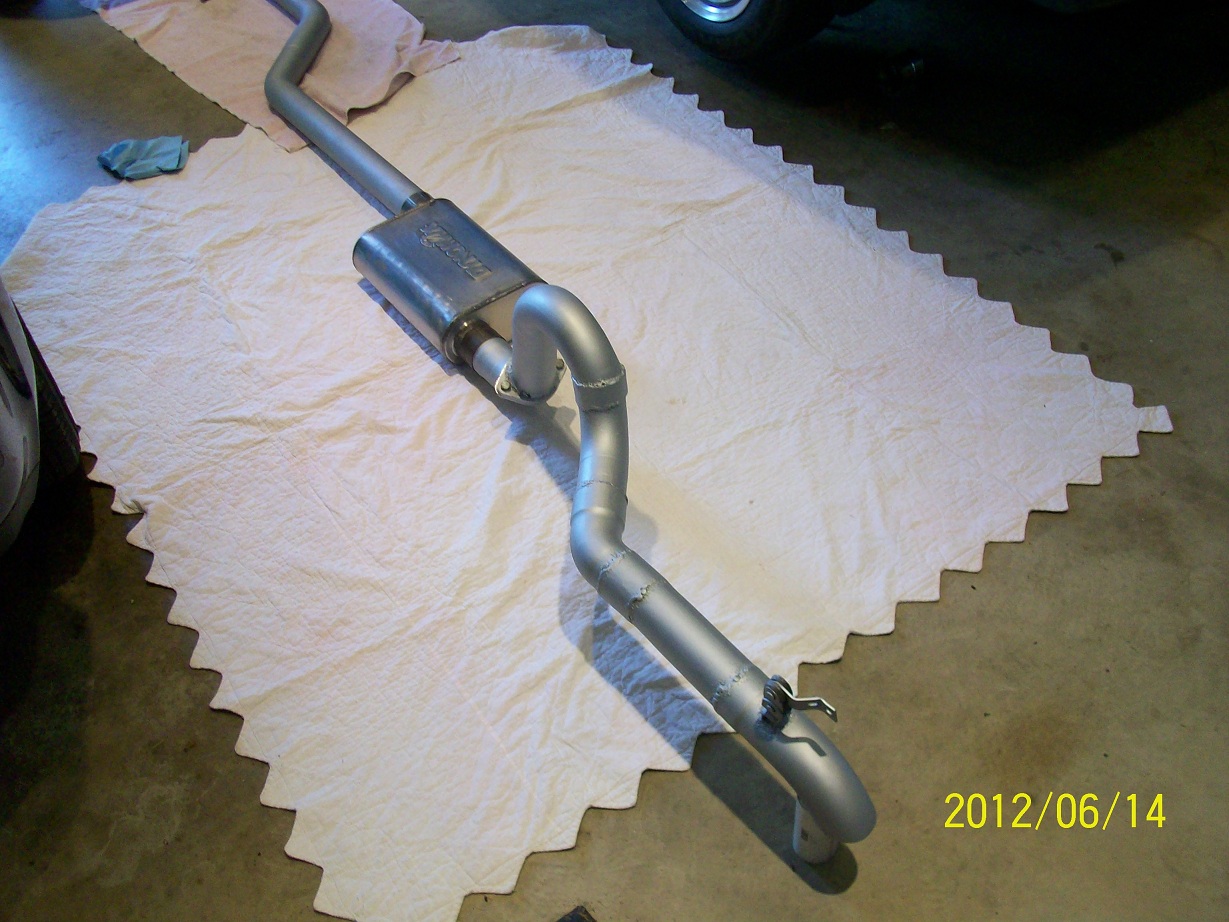
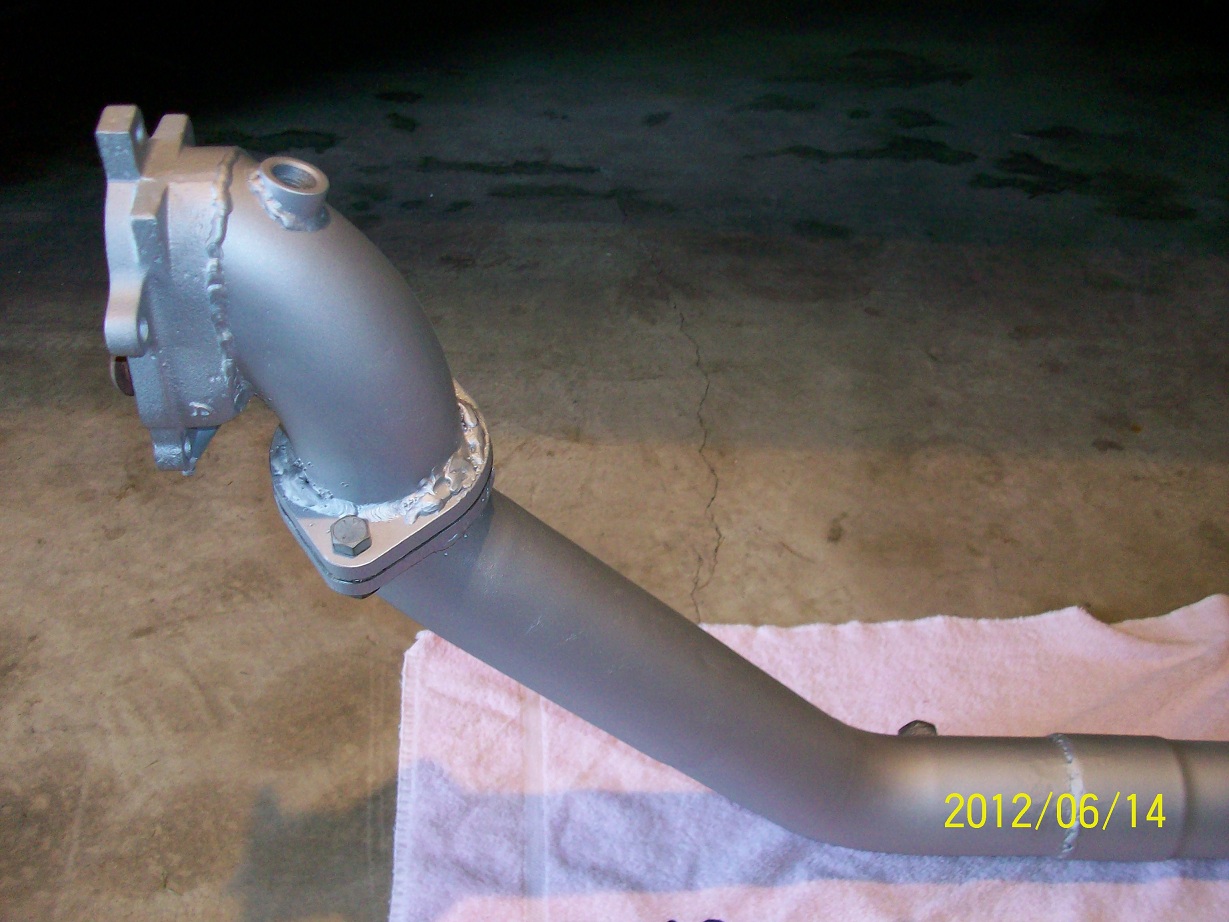
Turbo engines respond well to 3" systems and straight through mufflers. So a full 3" Stinger Performance exhaust system was ordered. At the same time we also ordered a Stringer Performance 3" elbow that bolts to the exhaust outlet of the turbo. The stock outlet is 2" so this bigger elbow eliminates that restriction.We bought some 3" flanges and welded them to the elbow and down pipe so they could be taken apart easily later. It was difficult to weld the flanges because it had to be done on the car to make sure the angle of pipe was correct. After a couple of weld tacks were in place it could be finished welded off the car.
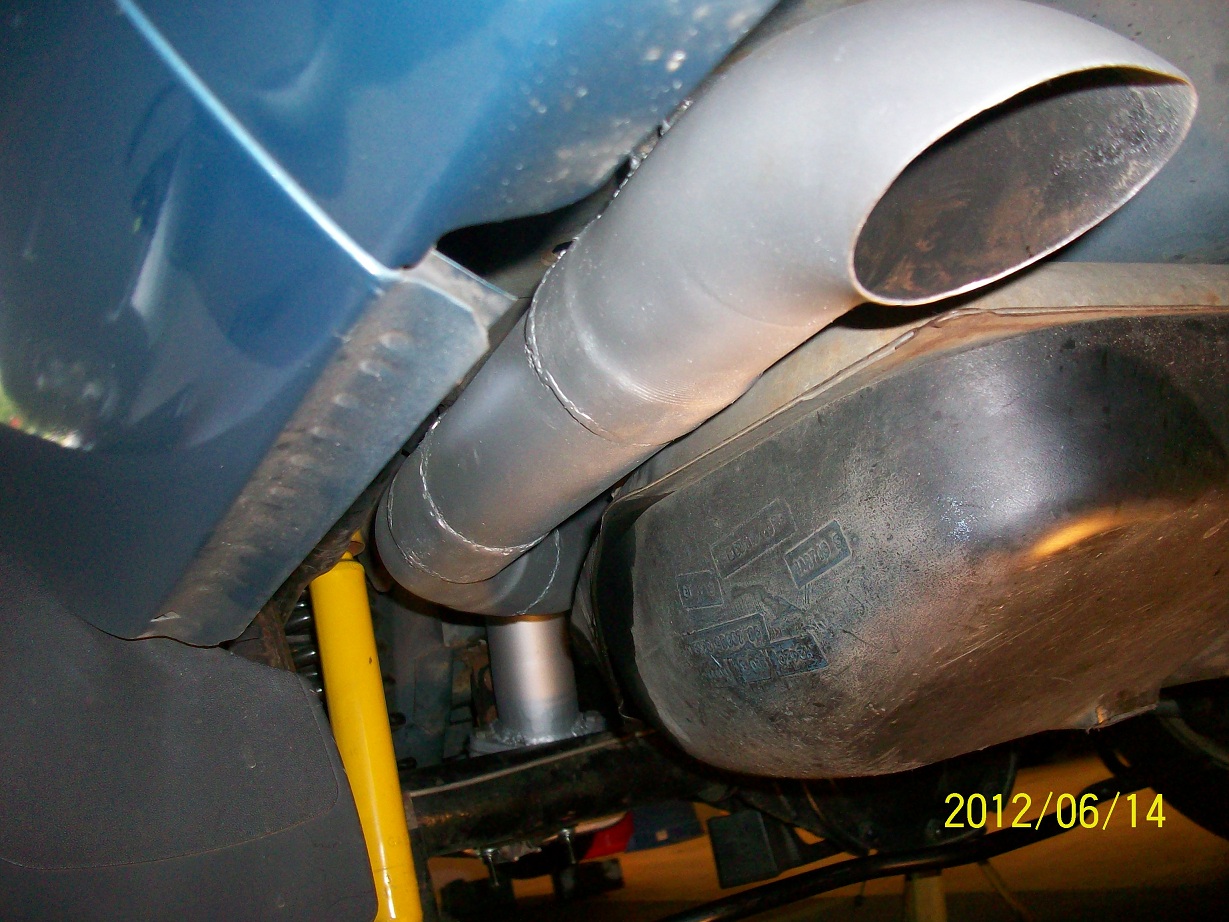
The 3" system took some playing with to get it to fit well. The magnaflow muffler that came with the kit was only 6" wide. That was not enough offset to allow the system to tuck up tight under the car so we had to run it hanging low at first. Then we found the Dynomax Ulta Flo muffler was 10" wide which let us tuck the system up tight under the car.
We did not like the look of the tail pipe that came with the kit because it hung down low and was very visible. So we ordered some mandrel bent exhaust sections and custom fabricated our own tail pipe. The tail pipe tucks up high under the car and can not be seen. We also added flanges on the tail pipe by the muffler for easy removal if we ever need to take it off.
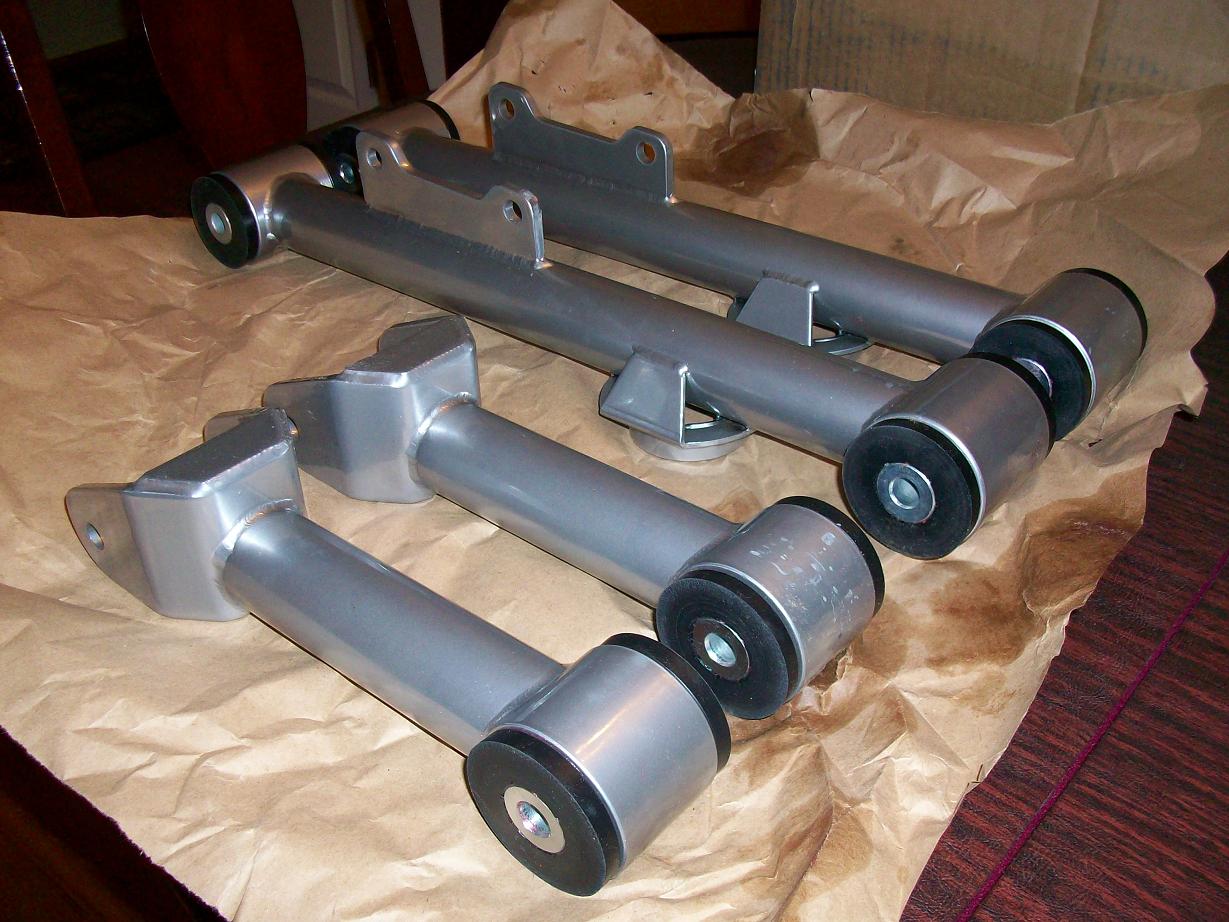
We also had to change the upper control arms on the rear suspension to provide more room for the 3" over the axle pipe. The aftermarket UPR control arms are much smaller then the stamped steel stock control arms and provide more room for the big pipe.
After everything was fitted and the car was driven for a while to insure correctness we pulled the entire system off, wire wheeled it down, and painted it flat aluminum header paint. This will keep the system from rusting and make it last longer.

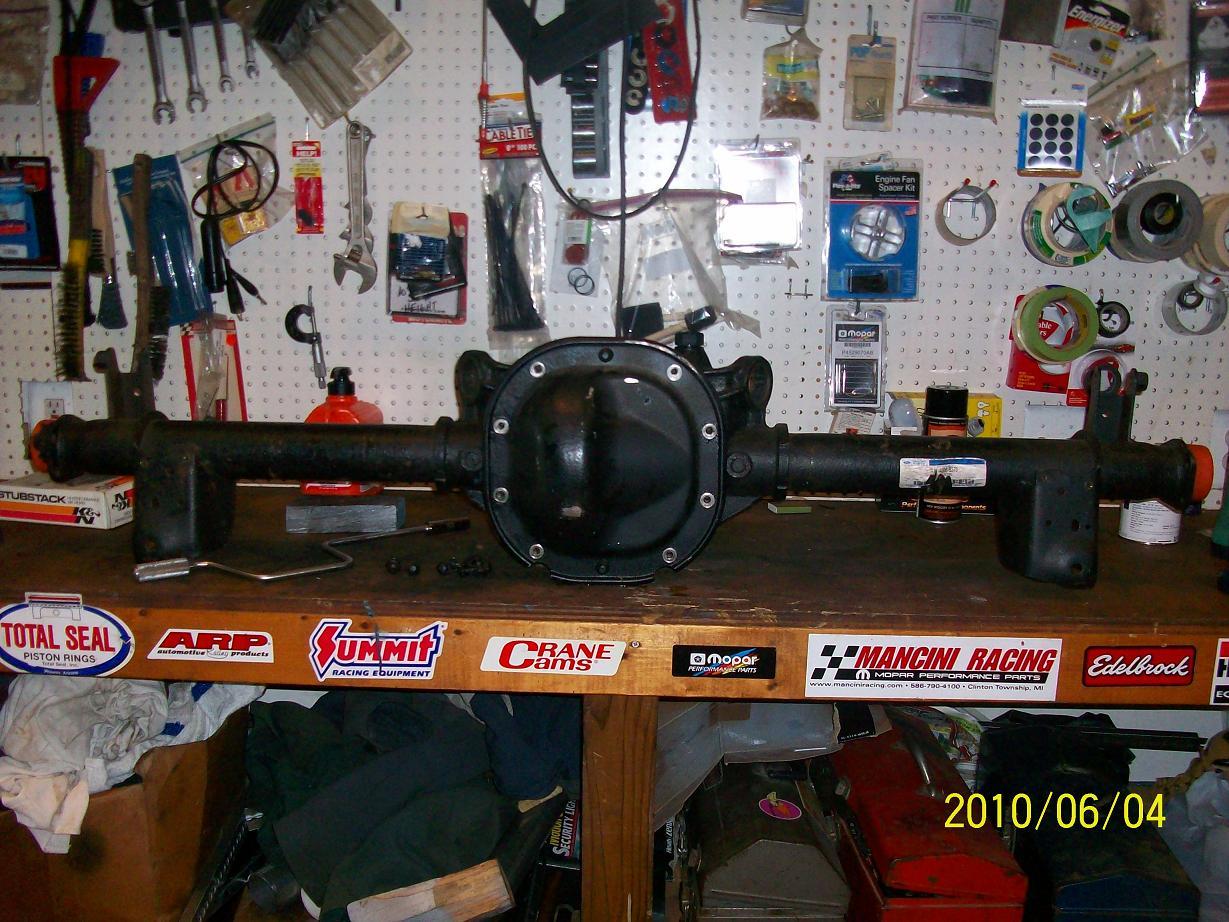
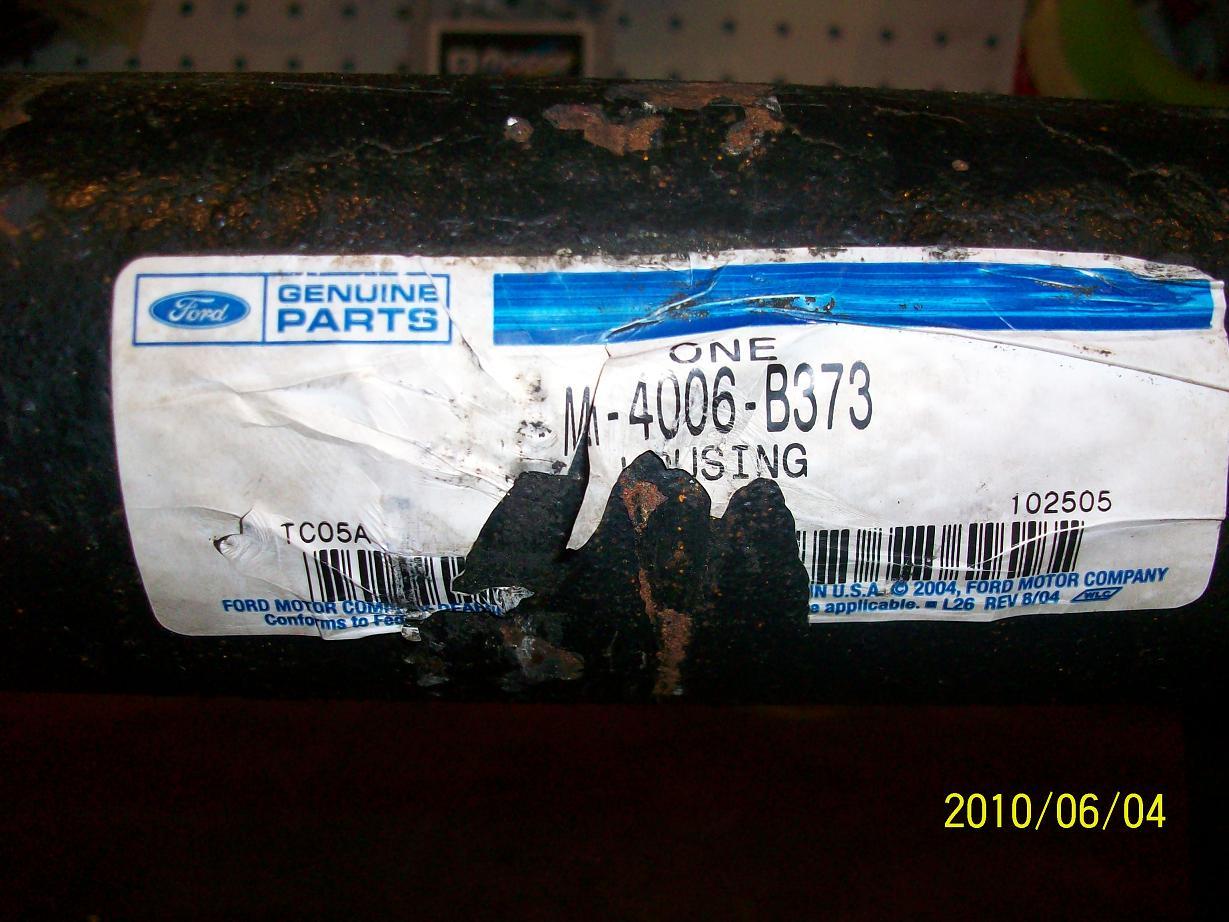
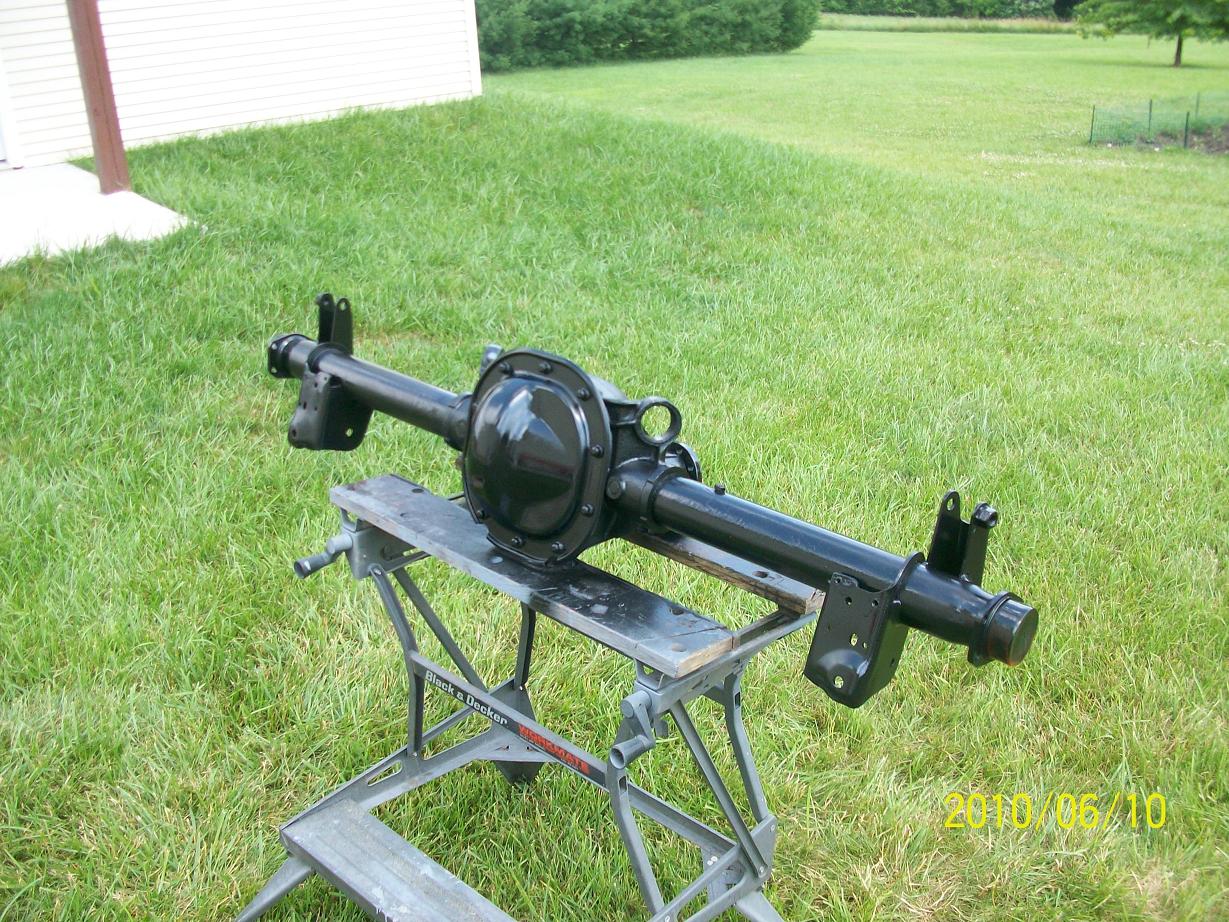
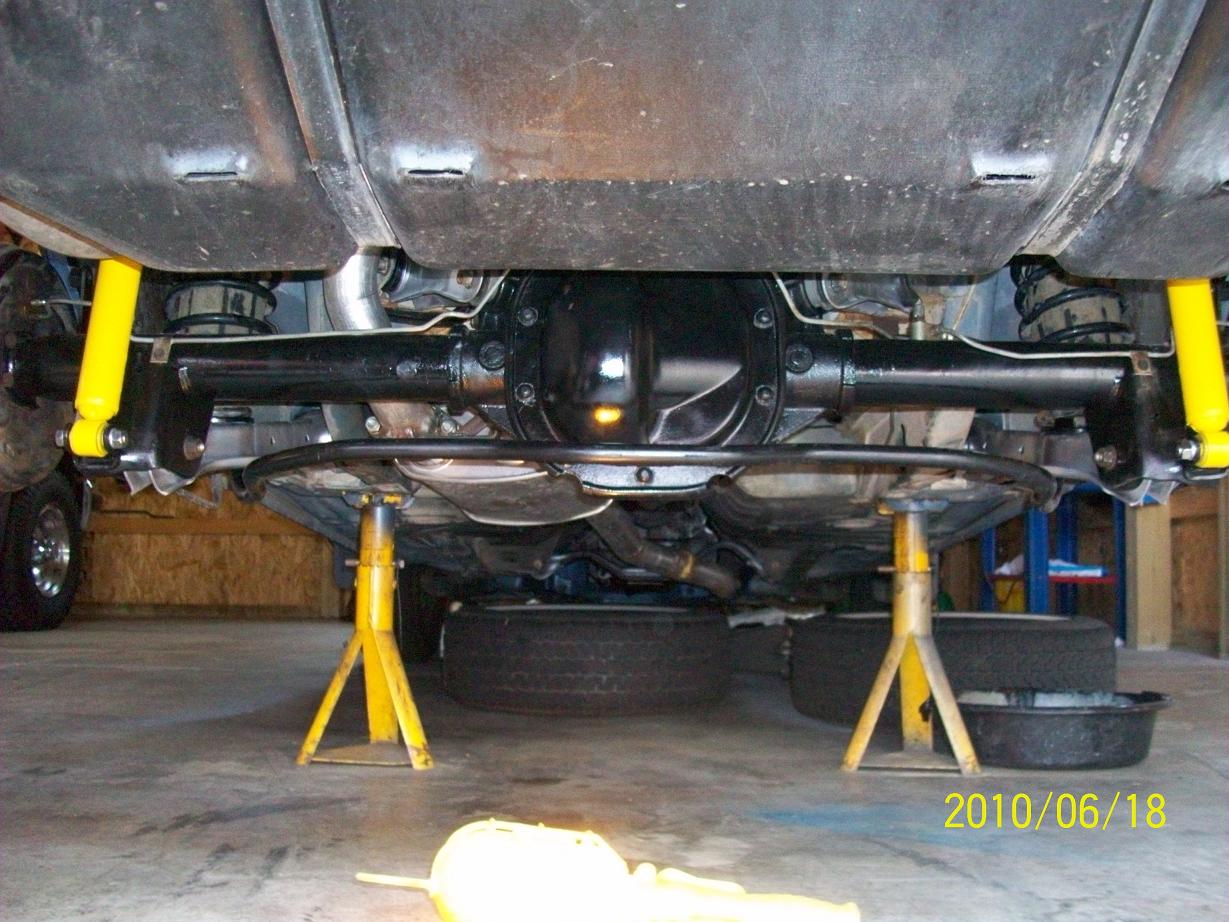
8.8 Rear Install
Our Mustang came from the factory with a 7.5" open rear with 3.73 gears. So it could spin the one tire just fine with the turbo engine installed. The 7.5 rear, especially the open version, is weak and under abuse from a turbo engine would eventually break.So at the Ford Carlisle show we found a New Old Stock Ford Motorsports 8.8 heavy duty rear axle assembly. This axle was discontinued by Ford and no longer available. This axle was a direct replacement for the Mustang 7.5 rear. Just remove axle shafts and brakes from 7.5, bolt them to the 8.8, and then bolt the rear to the car. This was a fairly easy swap. We did however shim the clutch packs in the rear as tight as we could for better traction. We also sanded the rear down and painted it prior to install.
So those are the modifications done to the car. Hoped you enjoyed reading and looking at the pictures.