Mustang Body Work and Paint
This page will show the body work and paint that was done on our 1988 Mustang LX Hatchback. We did all the body work and prep ourselves. Then we had a pro spray on the base and clear coats. After that the car was returned to us for assembly.Faded Peeling Paint and Lots of Dents


Despite this the car had no rust what so ever anywhere. So while we had to deal with dents dents and more dents and horribly faded peeling paint there was zero rust repaired needed on this car. The car still retained all its original panels so it had never been in an accident. The other good thing about the car was someone rebuilt the hinges on both doors.
First Steps


We took this approach because the hand sanding would not heat up and warp the sheet metal like sanding with power tools sometimes does. We also did not like the idea of chemical stripping because the chemical can down in seams where it can't be removed. The approach we toopk also gave us a jump start on getting the car straight. Once blocked dents were pushed out the best we could, sanded to bare metal, and smoothed out with body filler. At this point no primer had been sprayed on the car and we completed our first pass at making the car smooth and straight. One thing was for sure, this car had a bad taste of the uglies at this point!
You can see where we applied filler on the dents. The roof of the car was extremely challenging because the metal is so thing and filmsy. When we went to sand on the roof it just pushed in. Plus the roof had about 100 dings, dents, low spots, and other imperfections. It was very difficult to do. The passenger's side rear quarter panel also had a large dent right on the body line. That proved to be very difficult to get that body line to look correct. Countless hours were spent on that dent alone. But despite the challenges we kept plugging away.
Set Up Shop and Prep For Paint


The first coat of primer was PPG Epoxy Primer. This primer has a high adheasion, excellent rust inhibitor, and does a great job protecting the metal. After that a couple coats of U-Tech high build primer was sprayed on. We would typically let the primer sit a couple days then block it out. We started blocking with 160 grit paper. Once blocked we would see low and/or high spots. Some tapping on the sheet metal and applications of filler were applied to correct the imperfections. After correcting the imprefections we sprayed on a few more coats of high build primer, let set, and repeated the blocking process again. During each cycle the body became straighter and straighter. We also moved to finer grit sand paper. First 160, then 220, then 320, and finally 400 grit.
Ready for Paint


What started out as a faded peeling paint dent machine was now a car that was straighter and more perfect then the day it left the factory. We took the time to adjust the front fenders, shim and adjust the hood, test fit the front bumper to make sure everything would line up perfectly.
The original plan was to finish the paint ourselves. However, we needed an expensive paint gun it order to even have a chance at making it look good. Then there was the price of the paint. It we attempted to paint the car ourselves and messed it up and had to try again it could get super expensive really fast. We located a professional paint man with 20 years experience. He was only 10 minutes away and had a full paint booth set up in a barn in his back yard where he lived. He had an excellent reputation for doing excellent work and he was very interested in the job. He came over to inspect the car and complemented us on the great job we did on the body work and prep. He stated "I love to get them like this!" as he ran his hands over every panel of the car.
Time for Some Color
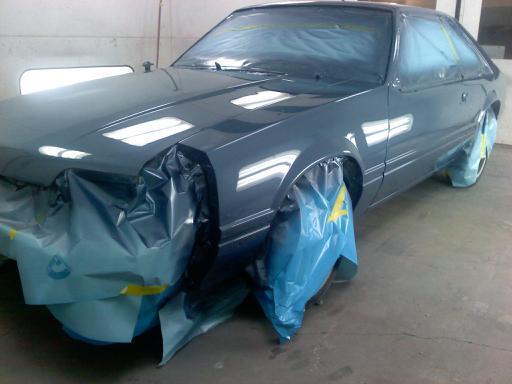
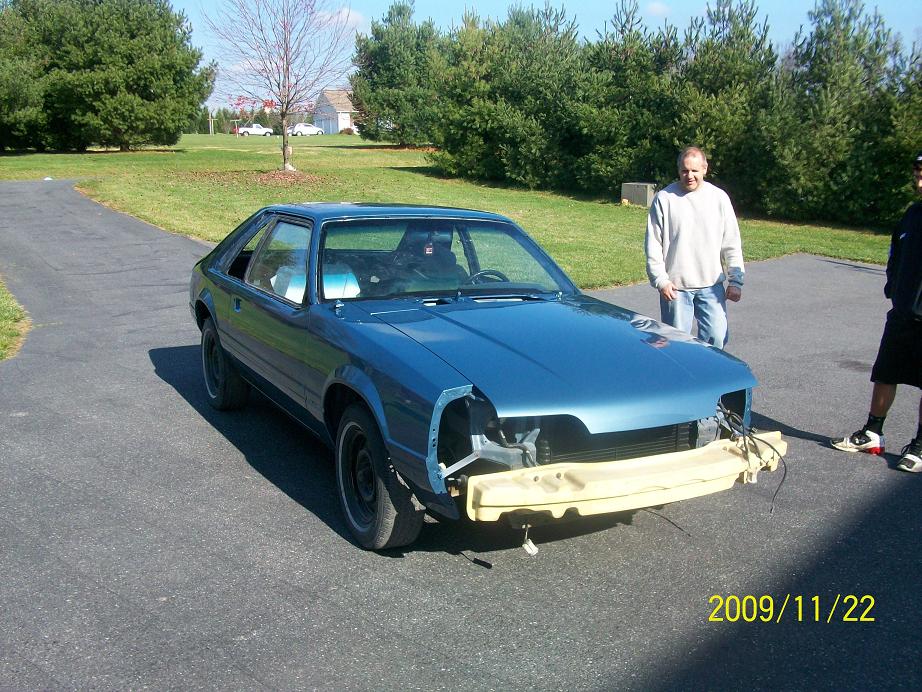


So now it was time to put the car back together. We had new side quarter glass to install, reinstall the entire rear interior since that all had to come out to get the side glass out. Reinstall the bumpers, put the outside mirrors back on, install window moulding, reinstall door and trunk locks, reinstall door panels, reinstall antenna etc etc. We had to be very careful and move slow to avoid scratching the new paint.
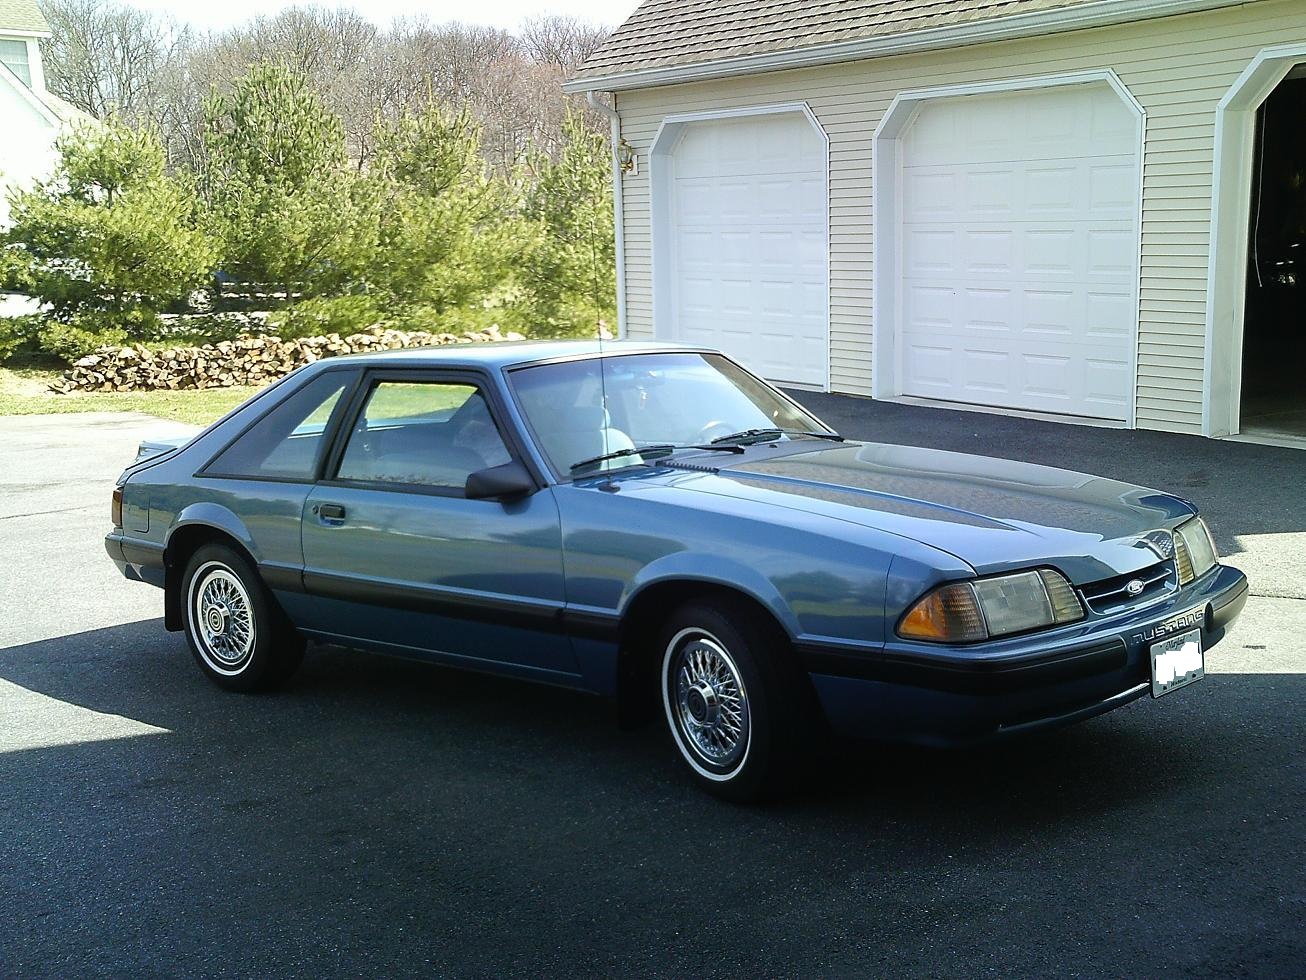
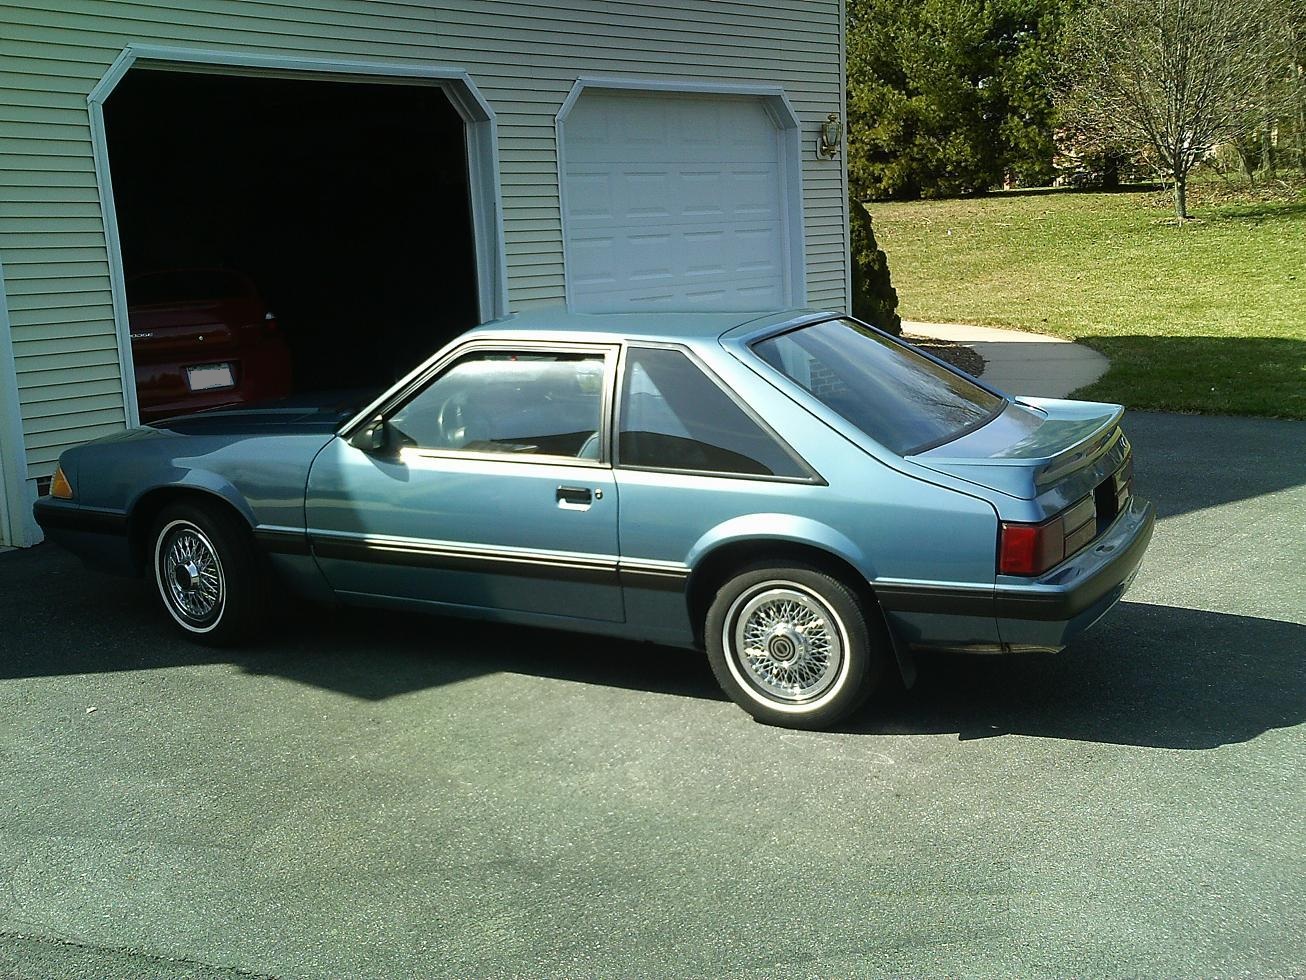
So after a couple weeks of assembly we finally got the car put all back together again. We had returned the body of the car back to like-new condition. The months of blocking by hand and then having a professional apply the base coat/clear coat resulted in a straight shiny car.
So that is our body work and paint story. I hope you enjoyed reading and viewing the pictures.